Tuesday, July 12, 2011

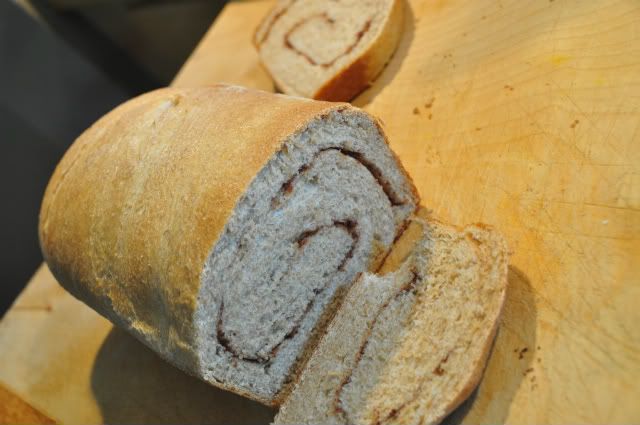
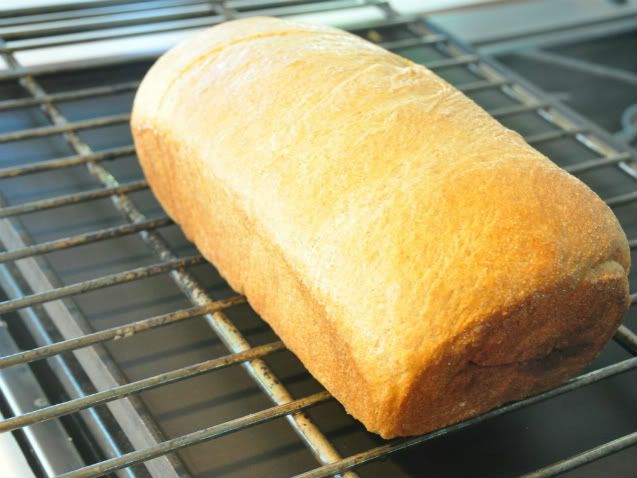
Whole Wheat Cinnamon Swirl Bread

Photobucket
Not just your ordinary loaf...
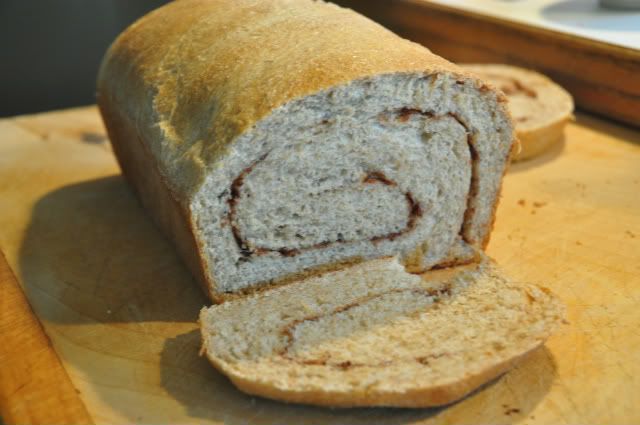
Photobucket
Whole Wheat Cinnamon Swirl Loaf!

Photobucket
Nomtastic!

I would say this is healthy, but then I'd be betraying you when I give my choice serving suggestion, which is to slather a warm slice up with butter and serve with extra cinnamon sugar! Mwahahahah >:)


Here's the recipe! It's easy! And way impressive. Make it now, gogogogo!

Whole Wheat Cinnamon Swirl Bread
Author: Erin Alderson
Prep time: 2 hours
Cook time: 45 mins
Serves: 16 slices

Ingredients
1 1/2 cup warm water
1 package yeast
1/4 cup honey
2 tablespoon sunflower oil
2 teaspoon salt
2 cup whole wheat flour
1-2 cup unbleached all purpose flour
Filling:
2 tablespoon organic cultured butter
1/3 cup sucanat
3 tablespoon cinnamon
2 teaspoon nutmeg

Instructions
Start by place water, yeast, and honey in the bowl of stand mixer. Stir with a wooden spoon to dissolve yeast and honey, let sit for 5-10 minutes or until mixtures begins to foam. (If this does not happen your yeast was either old or your water was too cold or hot.)
Once yeast is ready, add oil, salt, 2 cup of the whole wheat flour. Begin to knead with dough hook, adding the rest of the whole wheat flour and white flour as needed until the dough pulls away from the side of the bowl (dough should still be kind of soft, just not sticky.) Continue to knead for 10 minutes.
Once done kneading, spray lightly with oil and set in a warm spot and spritz with water. (I usually turn my oven on to 200? and then turn off to use as proofer) Let dough rise until doubled in size- usually about an hour.
Turn dough out and with a rolling pin, roll into an 8 by 12 rectangle. Brush the dough with butter and sprinkle sucanat, cinnamon, and nutmeg over entire surface. Roll, starting with the edge closest to you, into a loaf and place in a lightly sprayed 9×5 loaf pan. Again, place in warm spot and let rise until dough in size-this is usually about 45 minutes.
Heat oven to 375˚, spray loaf lightly with water, sprinkle sugar on top, and spray with water again. Bake for 45 minutes or until bread is golden on top and sounds hollow when tapped on the bottom. Let cool
(nuh uh. don't you do that.) and slice.

Wednesday, March 9, 2011

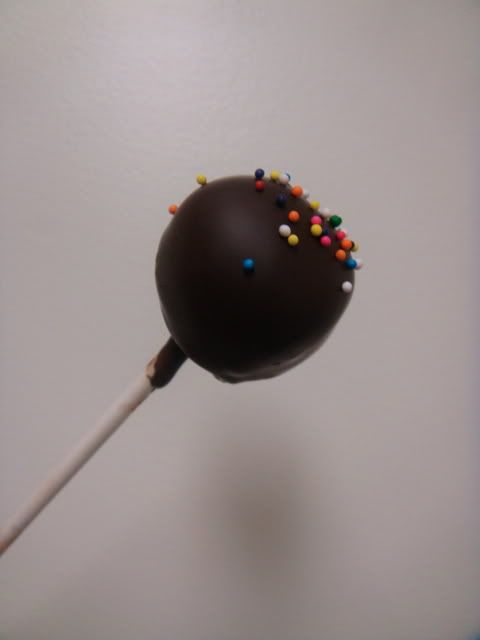
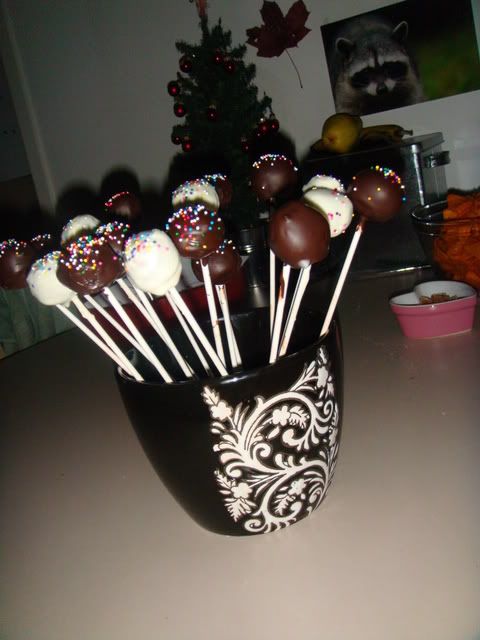
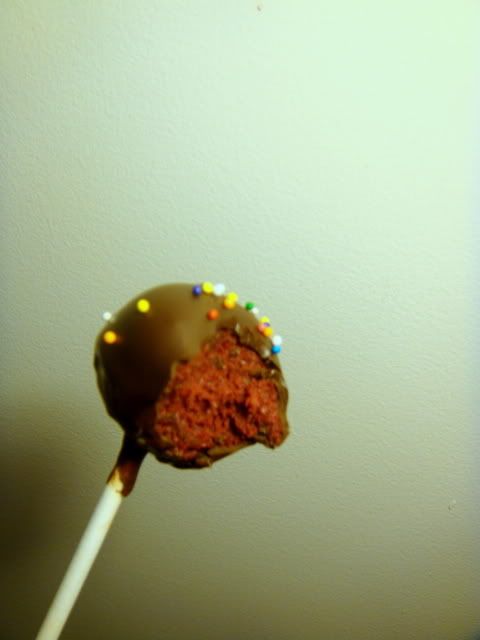
Cake Pops! (first attempt)

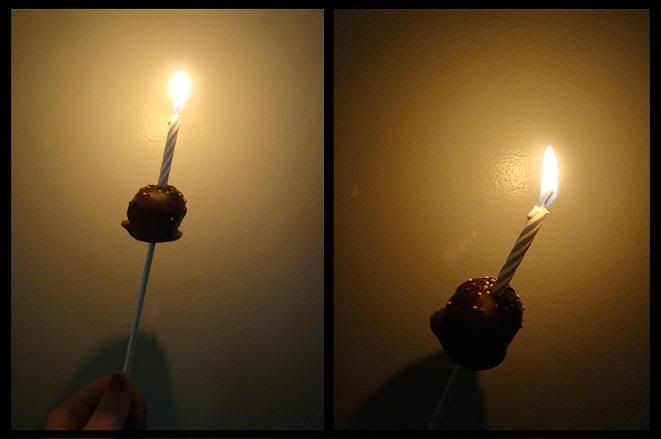
So... we made cake pops for Lauren's birthday. Which may or may not have been more than a month ago- yeah I know I'm behind. But hey. School. Life. You know how it goes.

Anyway, back to the cake poppery. The process (more than the product) was kind of great to say the least. Although it was totes last minute and a little chaotic like most of my baking projects during school, I was so stoked to finally get the chance to make these quasi-celeb desserts (made famous by Bakerella --but did you know that Starbucks is making them now? Crazy!); and I have to say they didn't turn out too badly. But yes, there are some things I would def do differently the next time around, which I will go into in a bit, but they looked good and were, well.. edible. So I guess you take what you can get.


It was kind of a ridiculous ordeal, gathering all the materials needed for this project. We made six different stops: Safeway, the Met, Artco, Sonic, the SUB, and the wooonnnderful Treasures n' Thrift Family Store. Kay, so yeah we did get a little bit sidetracked, but in the grand scheme of things these detours were necessary. J, always on the cutting edge of fashion, got a supes cute quilted shoulder bag and I got a movie on VHS called Woman On Top. Yeah I know, the name is a real winner. It's going to be one of those movies that's so good because it's so bad. Or maybe it’ll just be bad. I’m feeling optimistic though, cause the main character is a chef so it’ll have some redeeming value, yeah?


So first of all, it took us forever to realize that "chocolate bark" is just straight up chocolate, as in bars or chocolate chips. Lame sauce! Chocolate bark at the Met, like most things at that store, is hella expensive so we just went with chocolate chips. BUT, if you’re going to go with white chocolate for dipping, don't buy cheap-o white chocolate chips. They don't melt evenly, even over a double-boiler and they never reach a thin enough consistency to dip the cake balls in. I'll have to do some more research on melting white chocolate later because the ones we dipped in the white chocolate that didn't completely fail were actually pretty tasty.


The last thing I'd change is that I would either make the red velvet cake from scratch or use a better quality red velvet cake mix. The one I used was way cheap and you could definitely taste all the weird fillers that went into the mix. Point of the matter is--and I know this probably seems obvious--is that if the cake doesn't taste good on its own, it's prrrobably not going to taste good as a cake pop. heh.


Or maybe the broader point I should be making is that it's definitely possible to take the whole "frugal student baker" thing too far. In this case, cheap ingredients resulted in cheap tasting food, no matter how good the recipe was or how well I followed it.


But in the unlikely case that I haven't completely turned you off the idea of making cake pops by now, I've posted the recipe so that maybe you can try it yourself and learn from my mistakes, and maybe a few of your own too.


Red Velvet Cake Balls from Bakerella, [plus some of my own prep pics! (I finally remembered to take some :D)]
1 box red velvet cake mix (cook as directed on box for 13 X 9 cake)
1 can cream cheese frosting (16 oz.)
1 package chocolate bark (regular or white chocolate)
wax paper

long lollipop sticks if you're making cake pops


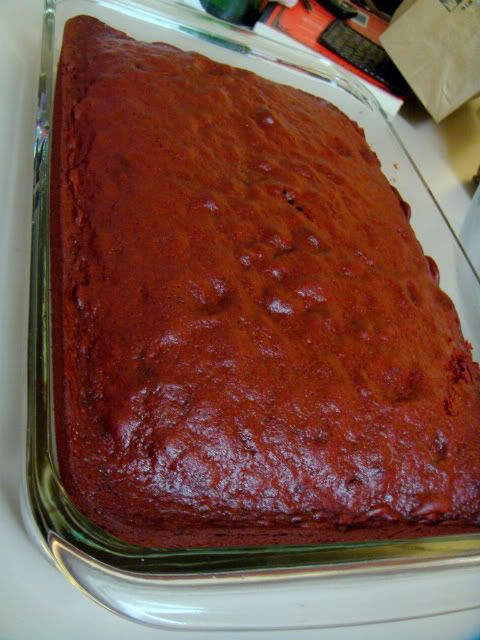
Start with straight up red velvet cake.


Photobucket


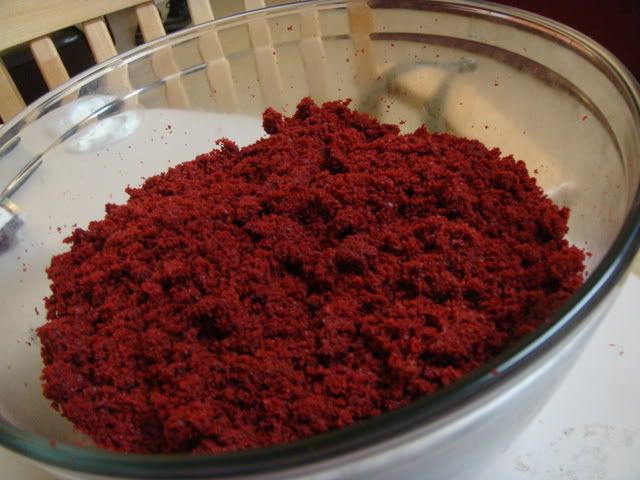
1. After cake is cooked and cooled completely, crumble into large bowl.


Photobucket

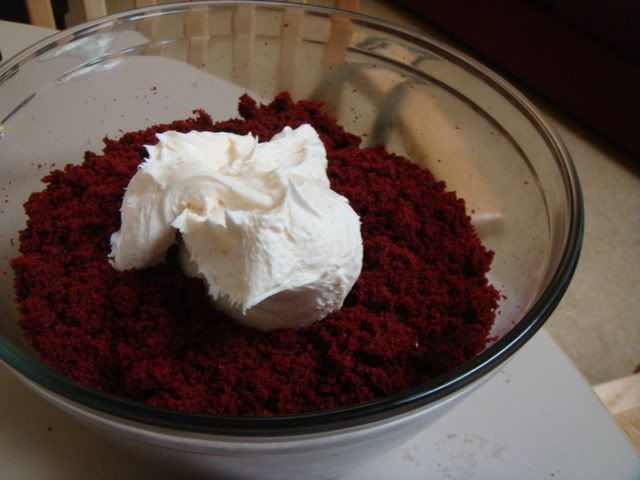
2. Mix thoroughly with 1 can cream cheese frosting.

Photobucket

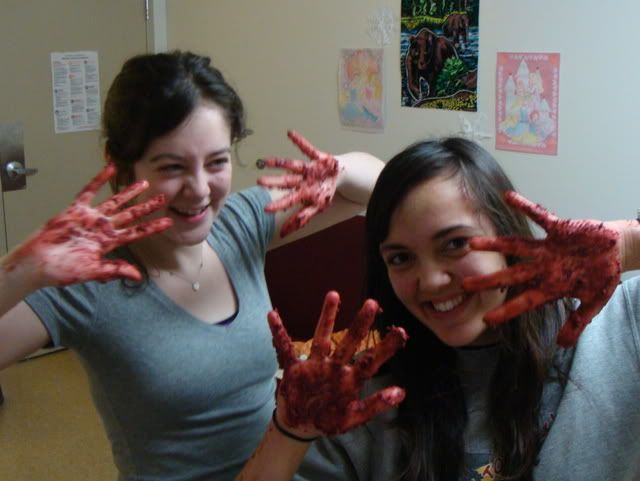
(It may be easier to use fingers to mix together, but be warned it will get messy.)

Uh..tchyeah ya think?

Photobucket

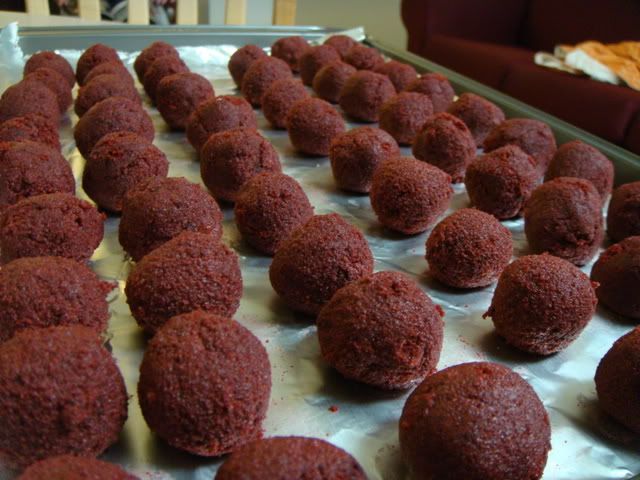
3. Roll mixture into quarter size balls and lay on cookie sheet.


Photobucket


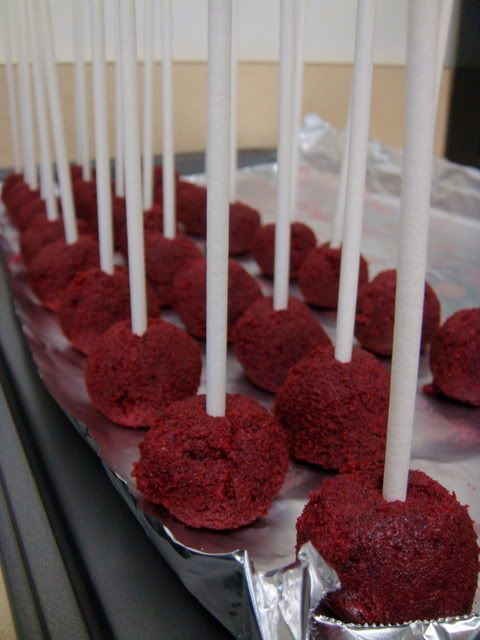
Put cakey sticks in!!

Photobucket


4. Then chill for several hours. (You can speed this up by putting in the freezer.)

5. Melt chocolate in microwave per directions on package.

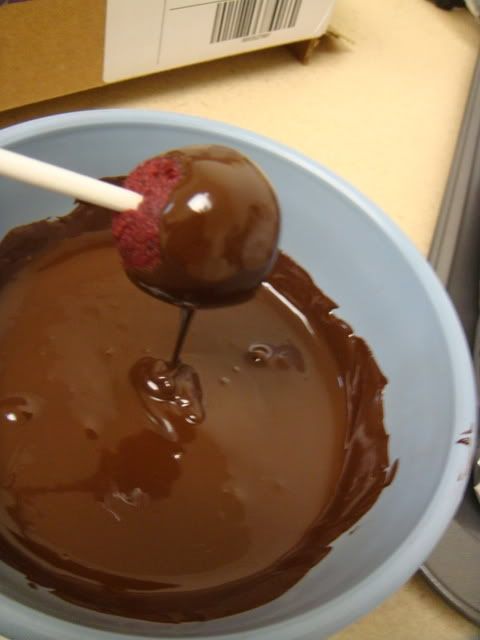
6. Roll balls in chocolate and lay on wax paper until firm. (dip in chocolate and then tap off extra.)

Photobucket


and voila!

Photobucket


ballin!!

Photobucket

Photobucket


Photobucket

Thursday, March 3, 2011

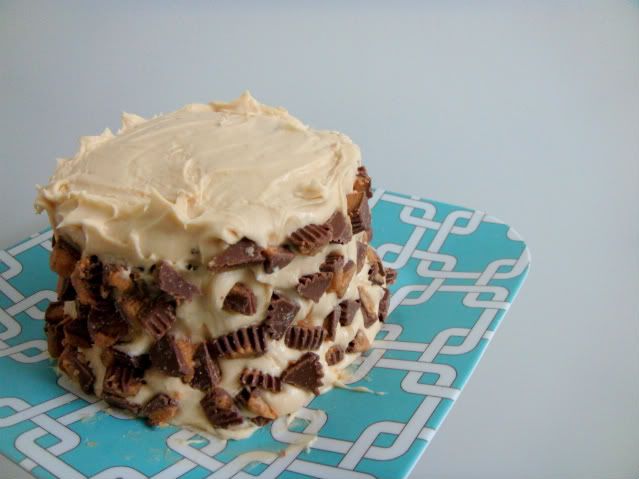
Peanut Butter Chocolate Love Cake

Wow guys.. I just have to start out by apologizing for being such a suckface when it comes to being consistent with my posts. I hate to give excuses, but February was a busy month. I got a job (UPS catering, woop woop!), joined a sorority (Gamma Phi Beta), joined a community group at my church (they're wonderful), joined an intramural volleyball team, and I also really should have been smarter about taking on such a stinkin’ reading-intensive course load knowing how slow of a reader I am. So.. spreading myself a little thin right now, but I’m not regretting any of it!It’s been a fun semester, and I’m finally getting a feel for balancing out all these new things I’m trying. There have, however, been some great opportunities to bake/cook for my wonderful friends, and of course I wanted to document those for my loverly readers. So here is the first good we baked last month, well, some pictures of it at least. Enjoy!

February 2, 2011

First up is the Chocolate Peanut Butter Love Cake. Why “love”? Silly question. Why not love?? It’s a love cake because when you usually see someone purchasing this particular size of a cake (two layers, maybe 5 inches in diameter, typically a 2-serving dessert) at a bakeshop or grocer, it’s for one of three reasons:
  • They’re really craving cake.
  • They know someone else who is really craving cake.
  • They’re buying it to share with their lover on one special holiday or another during which they’re apparently supposed to love their partner more than they usually do.

So anyway, it’s meant to be shared by two. But since the L.C. gang and I are all madly in love
with one another, this cake was shared by.. I think maybe 7 people or so. It was funny, the pieces were something like 2 bites worth of cake. Despite the small servings and rather disorderly distribution of the "slices" (which were more like piles), the massive amounts of love packed into this confection made up for any shortcomings in size, and sweet-tooths were definitely satisfied because the frosting is like.. something illicit that I really shouldn't say on this blog.

It was fairly easy because we used
Trader Joe’s boxed cake mix.
I did, however, make my own frosting, and that is what made this cake so nommable. Well, and the TJ's cake mix wasn't too shabby.

Just a little side story: As I was searching for the frosting recipe I used (which took foreverrrr, but was totally worth it because this frosting is scary good and I can’t not share the joy) I came across pages and pages of debates over the ingredients that are supposed to go into the different types of buttercream frosting (Italian buttercream, Swiss meringue buttercream, American buttercream, Pâte á bombe, etc. Do you think there’s a “Mexican buttercream”? If not, dibskys on that invention.)
Anyways, hundreds of people just couldn’t resist the urge to assert their opinion on what exactly you put in a frosting before you can call it “buttercream”. I mean, I really shouldn’t be surprised to see trolls roaming the food blog world, but really, in the end, if the food tastes good then the cook must not have screwed up. This is kind of like those people who argue about what genre some new DJ’s music is (dubstep? house? trance? crunk? frapjam?) But c’mon! If you’re that
passionate about the music itself and not the idea of that genre, or the idea of being someone who listens to that genre, then why are you wasting your breath when you could be dancing, singing, doin’ the tippitay-tap? Snap yo fingers, do ya step. You can do it all by yo self, let me see you do it! Ayye!

So point of the matter: if it tastes good, then you got the recipe right. Recipes are made for us noobskys who need some guidance for getting all the proportions correct; so that all the chemical reactions and stuff like that can work out to hopefully produce something edible in the end. If you’re so knowledgeable about what goes into a good buttercream, then why were you on teh interwebz researching buttercream recipes in the first place, huh? Huh?

Here was my favorite comment:

“On May 10, 2006 at 05:00 PM, spacial_k (guest) said...
Subject: American Buttercream
Just so you know, the above recipe is totally WRONG. I graduated from culinary school so I know how to make buttercream. First off, buttercream frosting NEVER contains egg yolks.”


Well, Mr. “Spacial_k”, I guess you never will get to experience the deliciousness that is THIS FANTASTICALLY SCRUMBDIDDLYUMPTIOUS PEANUT BUTTER BUTTERCREAM FROSTING. But it’s okay because you graduated from culinary school, so all the best things you’ve tasted and will ever taste are things you made yourself so there is no need to branch out and take a chance on someone else topping your master skillz.

Okay I’m stopping myself there. I’m really not as mean as this post might make me sound..


Moving on: here is the frosting recipe! (ugh finally, Kirsten. Took for-stinkin-EVER!!)
You really should try it sometime. Or ask me to make it for you! It’s so good you might even just want to eat it out of the bowl with a spoon. .err..I mean, like I totally didn’t do cause that’s so unhealthy! Mmm

It looks complicated but it really doesn’t take that long and its totes worth it.

Fantastically Scrumbdiddlyumptious Peanut Butter Buttercream Frosting
1/2 cup peanut butter (not crunchy) <--I used creamy natural Skippy PB
1/2 stick unsalted butter, cut into pieces, softened
1 egg yolk
1/2 cup confectioners’ sugar
1/2 cup heavy cream
2 cups confectioners’ sugar

Bring a pot of water to a simmer on the stovetop. In a separate bowl over the simmering water, beat together the egg yolk and 1/2 cup of confectioners’ sugar, until the mixture is hot to the touch, about 5 minutes. Allow to cool for a few minutes (or transfer the mixture to a new bowl), and then beat in the peanut butter, and then the butter. Beat in 1 cup of confectioners’ sugar and set aside.
In a separate bowl, whip the heavy cream with 1 cup of confectioners’ sugar until the whipped cream forms stiff peaks. Add the whipped cream to the rest of the frosting and beat until combined. Chill in the fridge until the cake is ready to be frosted.

Note: At the stage where you mix the granulated sugar + yolk with the confectioners’ sugar (I think this will be difficult if you’re not using an electric mixer of some sort).. you might look at it and wonder how the heck such a funky looking substance is going to turn into frosting; it’ll look kind of like dried out peanut butter play-dough. However, once you mix in the whipped cream and beat it for while, it will all magically fall into place and you will end up with a beautiful light and silky-smooth buttercream

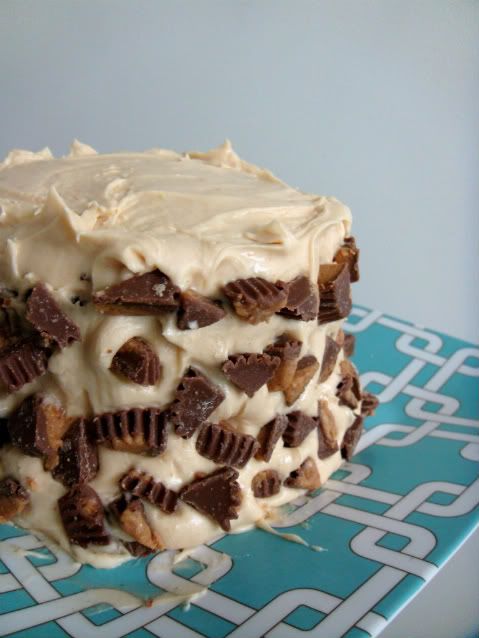
And in the end, we frosted the cake and dressed it up by pressing chopped up Reese’s into the sides. Although this looked really cute, I have to be honest: as good as Reese’s cups might be on their own, on this cake they were only a distraction from the blissful harmony of the TJ’s chocolate cake mix (which was very good, btw) and the light yet luxurious PB buttercream.

So, you may have your go-to frosting recipe, but this one is definitely worth taking a step out of the box. And don’t be intimidated by the double boiler if you’ve never tried it before. It’s really just a fancier way of heating stuff up than simply using a microwave and it gives you more control over the cooking/heating process. This frosting recipe is pretty versatile, too. If peanut butter ain’t yo thang, you can totally mix anything into this frosting instead of PB! I feel like this would work really well for a vanilla recipe, especially if you used vanilla bean paste instead of vanilla extract. I’ve never tried using the paste before, but I’ve heard that you get a way better vanilla flavor, plus you get the pretty vanilla bean specks :)

Well that’s all for now, friends. Thanks so much for reading and hopefully I’ll get my next post up soon.. (you may or may not have reason to get mad stoked for this.. but I’m just gonna say it.. I made cakepops!! :D )


Oh and this is for you, Nelly.

luv u bbgrl.

Tuesday, February 8, 2011

Las Flava Flavs de Capitol Hill

Folks, get out your cameras. This is the moment we've all been waiting for, but not really because I just came up with the idea, like, five minutes ago. Readers, we are about to embark on a journey of sorts. I will be leading a virtual tour of the many flavors of Seattle and surrounding area. But mainly Seattle because, well, it thoroughly kicks Tacoma's butt when it comes to food. Not to say that I'm straight up dismissing Tacoma from this tour; there are a few eateries definitely worth mentioning.

Okay, so yes, I know that
http://www.cakespy.com/ has been doing this for awhile, and beautifully at that. But I think it's helpful to have more than one perspective. Like my suitees and I were discussing today, there's always that one schmuck who gives bad reviews on Yelp because they didn't get a joke made by their waitress. Let me just clarify though: Cakespy is most definitely not a schmuck. In the least bit. In fact, from reading her blog, she seems like a pretty dang wonderful person. I'm just wanting to provide a look at some good (and sometimes not so good) places to eat in the area from the perspective of an average college student who likes herself some good food (right, who doesn't?).

This whole "Seattle flava flav tour" thing isn't really that big of a deal. It's just more fun to write about it like it is a big deal. Really though, all of this is just me announcing my decision to start incorportating reviews into my blog. Woooo!

So with that out of the way, our tour begins on Capitol Hill in Seattle with Po Dog and High 5 Pie!!

Po Dog is a hot dog joint in Seattle with two locations, one in the U-District and one on Capitol Hill. My family and I stumbled upon the one on Capitol Hill when we were going to the Globes show at Neumos last weekend.. good food, good drink, good music, good friends, good family. GOOD WEEKEND. :):) :))0:):);;)

Der Globes... [they're playing at Sasquatch this year, btw!]

Photobucket


Photobucket

Photobucket


Po Dog website: http://podogs.com/

Man.. this place was great. The Capitol Hill location has that "hidden gem" sort of aura about it. Definitely not a looker on the outside but super cozy and mod-hip on the inside with its bold skull-houndstooth wallpaper and giant pixelated neon prints on the wall, this place fits right into the trendy grunge scene of Capitol Hill. Right down the block from Neumos, it seemed to be a hit with all the concert-goers and other late-night wanderers. Best hot dogs I've ever tasted. I got the Seattle Dog, which was pretty simple- cream cheese and scallions. It was delicious though, and went nicely with a Red Stripe. My only request would have been to have more scallions piled on, cause they made a perfect flavor combo with the cream cheese, the warm, crossaint-like bun, and the deliciously salty kosher dog. My dad got the Morning Glory Dog with bacon, eggs, and cheese piled on top. This was absolutely delicious. I mean, how could it not be with the classic bacon and eggs alliance? Especially since it was reppin' the Tillamook cheddar. I also highly recommend the South of the Border Dog, and the Chicago Dog. You know what? They're probably all good. So I'll just go ahead and recommend just going to Po Dog and seeing for yourself if you haven't already. They also have some killer shoestring fries. And if you don't like hotdogs.. then.. you're out of luck. And you're weird. So, you shouldn't go there. I hear they don't like weirdos.

Oh and I didn't take pictures at Po Dog cause I was way too stoked on meeting an Ourada cousin that I didn't know existed. He was working behind the counter there! So crazy where life leads us sometimes.

Mooooving on.
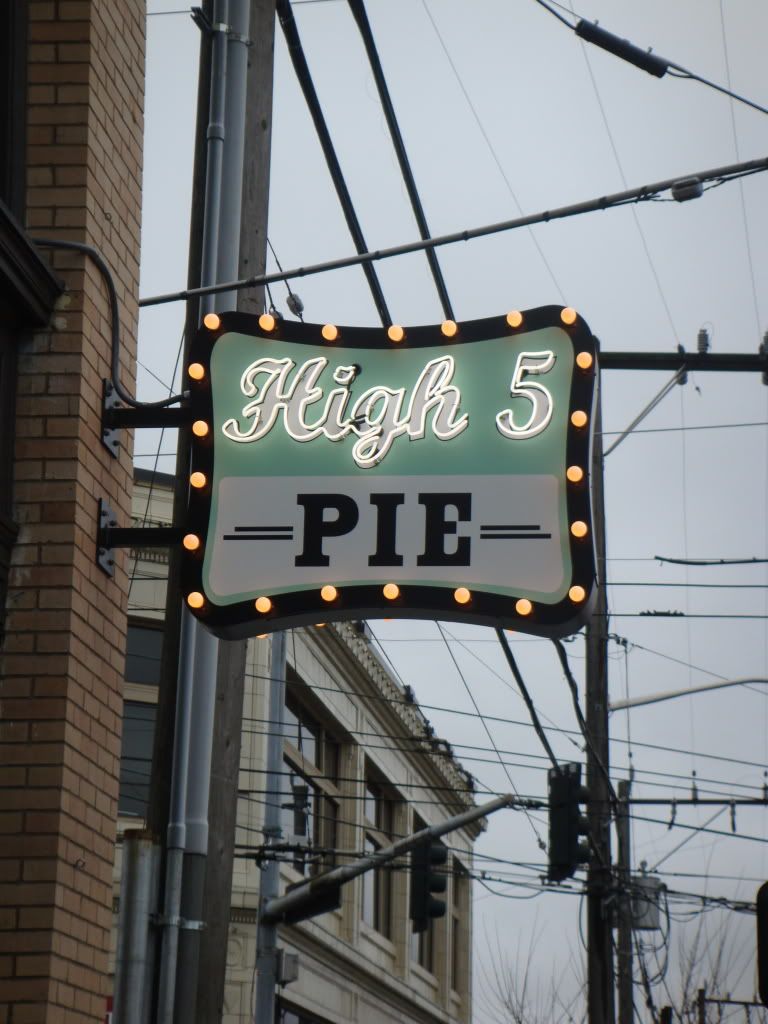
Our next stop on the tour is High 5 Pie!

Photobucket


I have to admit, I walked into this place with really high expectations, which is never a good thing when trying something new. So, as it goes, expectations were not met; but I'm not writing it off completely because I think it could be that I just ordered the wrong thing. This place had a huge assortment of goods to choose from, which was a definite plus. You can buy pies in at least four different forms at this place: they had hand pies, tiny little pie bites, slices of pie, pie pops, pies in jars.. I must say- it's pretty dang cute. And they have pies to serve any flavor preferences, whether it be sweet, savory, or the risky (but sometimes pure gold) sweet-savory hybrid.
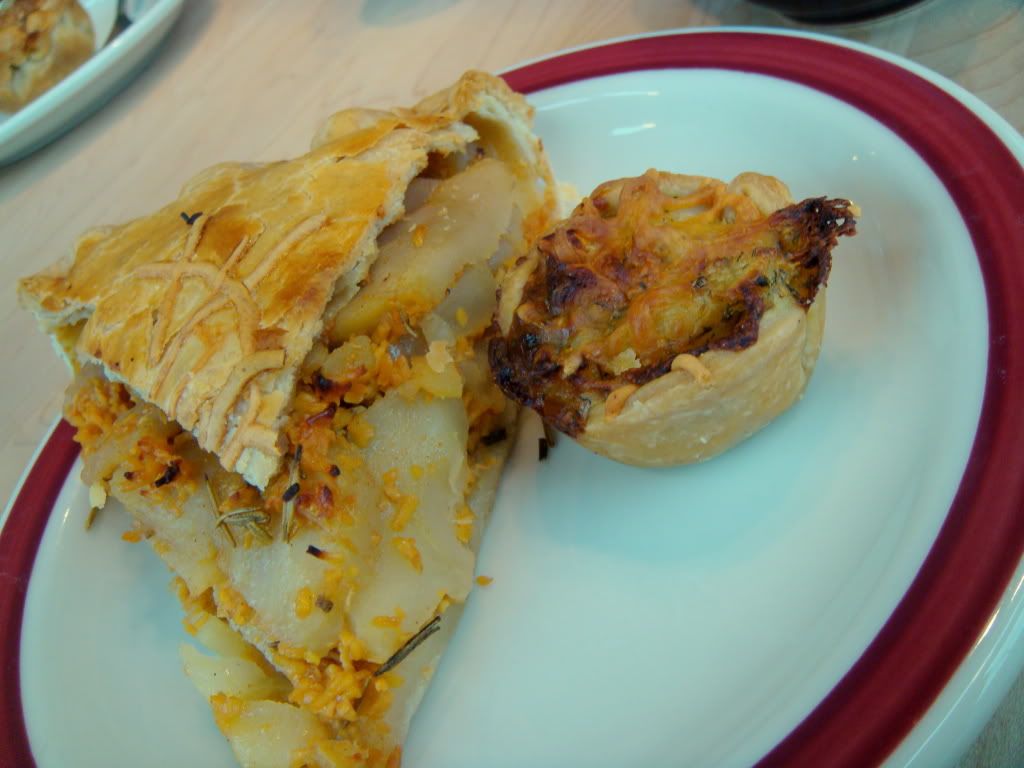
In this case, it wasn't pure gold. I'm an avid fan of apple and cheese, so I ordered a slice of their rosemary apple cheddar pie. The crust was pretty tasty. Nice and buttery, perfect flakiness, not over or undercooked. As for the filling.. I can't think of one good thing to say about it. The cheese wasn't even melted, it was just.. chunky. Like when you freezer burn cheese and it keeps its solid form when you heat it up.. ugh. I don't think they used fresh rosemary, because it was really brittle and it poked my gums :( The flavor combo just wasn't that great. I can imagine this might have been better with a creamy brie filling or maybe they could have just melted slices of cheddar on top of the crust, but the tiny cheese shreddage in the actual filling was a total fail.

I also tried a savory mini pie bite type thing. This was good. It was like a quiche sans eggs, with only the tasty filling bits left over. I can't actually recall what was in it though. But yeah- really good stuff. I wish it had lasted more than two bites :/

Photobucket


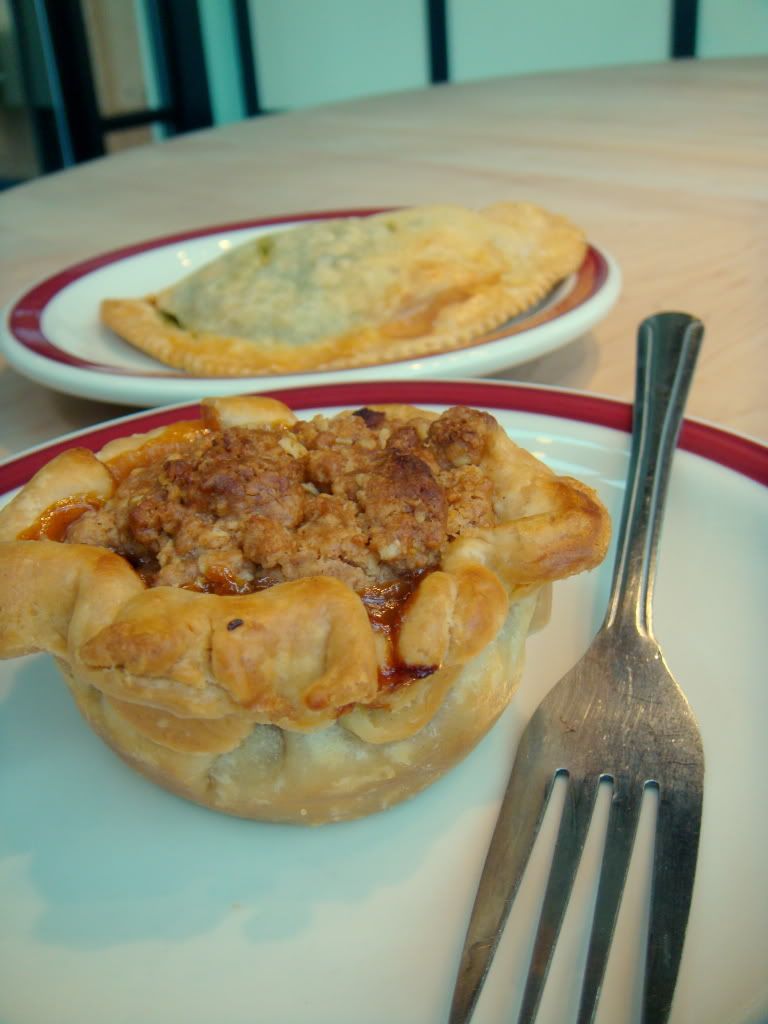
Antho got a spinach feta hand pie (I think High 5 called it a "flipside", which Antho said was basically just their hip name for an empanada, haha o_o ) Either way, the concept sounds delicious, doesn't it? I mean, you really have to try hard to mess up a pastry filled with spinach and feta. Which I guess is exactly what High 5 Pie did. Antho said he could barely taste the feta, if at all-- and I could see what he meant. Honestly, it looked like a can of spinach poured directly into a pie crust. A really tasty pie crust. So, tastewise, his review was mixed. Said it was okay, which I didn't know whether to interpret as "I just got ripped off and I'm trying to make the most of an overpriced purchase" or "it's not good, not bad."

He also got a "cutie pie" (daw), which was also a miniature pie of sorts, about the diameter of a baseball. And I admit, it was scrumptious. Apple filling with a crumble topping..simple, but good enough to knock up my 4/10 review to a tentative 5/10. I'd go back to try the lavender cream pie but probably only during happy hour.


As for the visual aspects of the place, I have to give credit. It's super cute. They had a modernized old-school diner thing goin' on, with sassy mint-colored accent pieces, high ceilings, and a big round communal table at one end, which I thought was pretty neat.

The service, however, was less than okay. The person who helped me couldn't even give a good recommendation, didn't know what her customers liked- she hardly knew what she liked, for goodness' sake. On top of that, my coffee wasn't even hot. And on top of that, major buzzkillage ensued when I was handed my pie, also lukewarm at best, after having been offered to have it heated up for me. Fruit pie is seriously more enjoyable when eaten warm. And I have to say, these pies really needed that extra boost.

Anyway, here's the inside of the shop portion. They had a cool window-door at the opposite end of the shop where you could look in and watch them making pies.


Photobucket


So to touch back and wrap things up...

I highly recommend Po Dog Hot Dogs:

  • 9/10 for taste
  • 8/10 for environment
  • 8/10 for service
  • 7/10 for value. But really it just depends on whether you're willing to buy a $6 hot dog.

But no high fives for High 5 Pie. I hear and read that there are other pie places in Seattle that could seriously show these guys who's boss. We shall see!! Eventually!

  • 5/10 for taste
  • 7/10 for environment
  • 5/10 for service
  • 4/10 for value

See you next time on Las Flava Flavs de Seattle and thanks for reading!


Friday, February 4, 2011

Kokosmakronen

Ohhhhh baby do you know what that's worth? OHHH HEAVEN IS A PLACE ON EARTH!!!

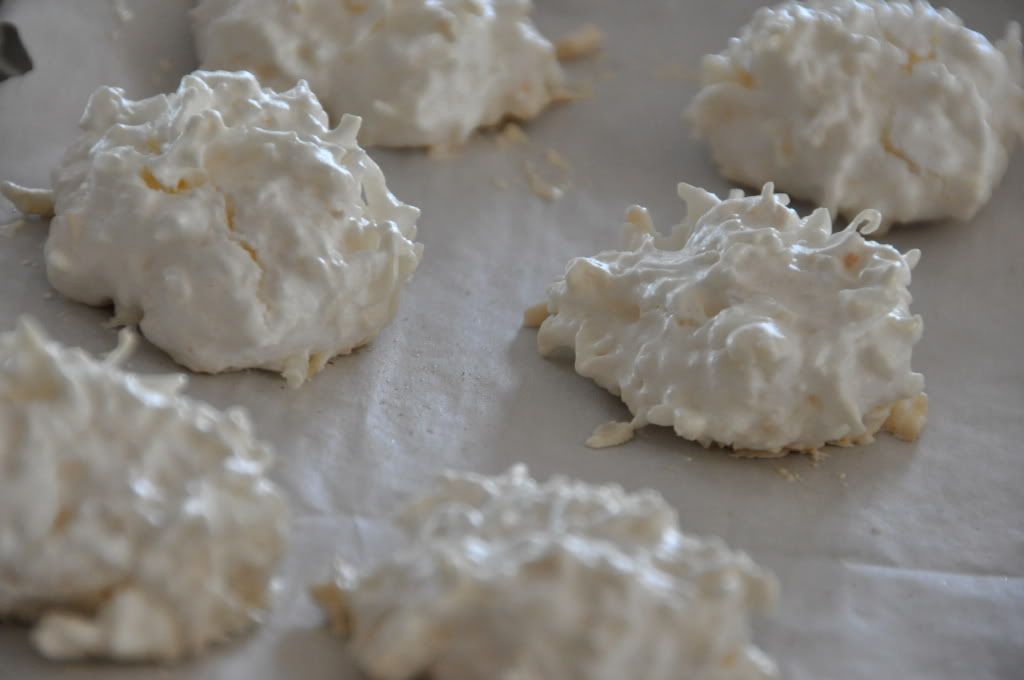
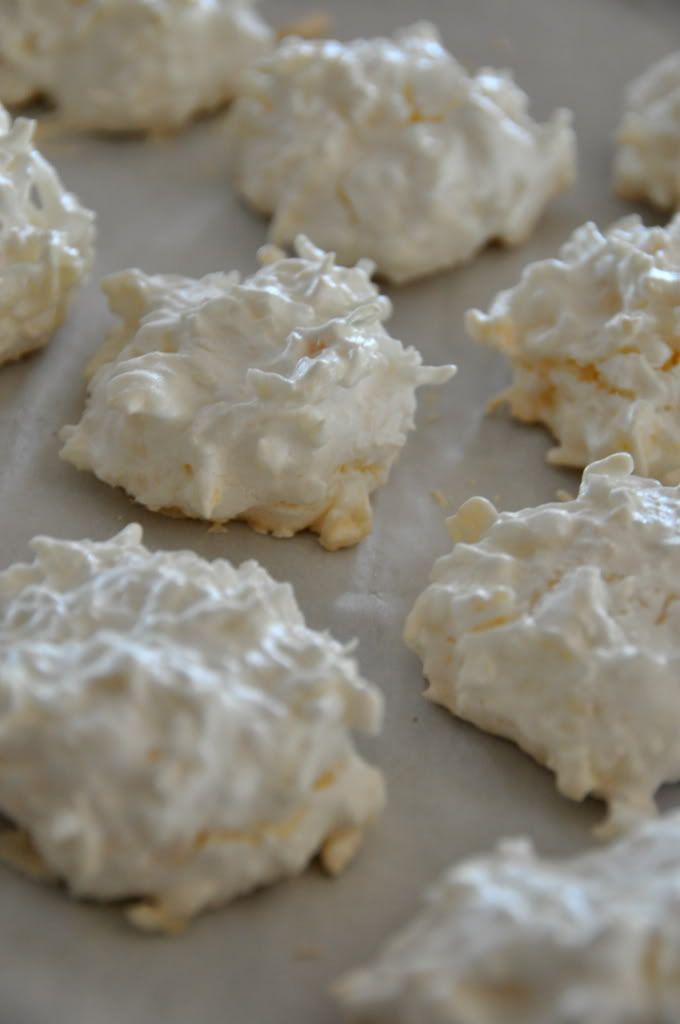
And it comes in the form of a chewy coconut macaroon surrounded by a crispy meringue shell..aka Kokosmakronen (German-style coconut macaroons)


Photobucket

Photobucket


A couple tips to start out with: Don't use sweetened coconut.. the cookies will end up way too sweet. Also, cut down to 1/2 to 3/4 cup white sugar.
I highly recommend toasting the coconut before. Toast until the flakes are golden. That'll give you a really nicely colored macaroon and it will help to bring out delicious coconutty flava flav (I didn't toast it enough that's why my cookies turned out so white)
Don't overcook or they'll be dry all the way through and you won't be able to experience the delicious chewy center that makes these so good.
These are super easy and super cheap so you should totes make these if you like sweet coconut stuff!

This recipe makes 3 dozen Kokrosmakronen

Ingredients
2 3/4 cups flaked coconut, toasted
4 egg whites
1 cup white sugar
1 teaspoon ground cinnamon
1/2 teaspoon almond extract

Directions
1.Preheat the oven to 250 degrees F (120 degrees C). Line cookie sheets with parchment paper.
2.In a large bowl, whip egg whites with an electric mixer until stiff enough to make a mark through with a knife. Gradually sprinkle in the sugar, cinnamon and almond extract while continuing to mix on low speed. Fold in toasted coconut by hand. Spoon or scoop onto the prepared cookie sheets.
3.Bake for 20 to 25 minutes in the preheated oven, until cookies are dry and peel of the paper easily. Cool on wire racks and store in an airtight container at room temperature.

To toast coconut: Spread flaked coconut out on a cookie sheet and bake for 5 to 7 minutes in a 350 degrees F oven. Yum-mah!

Thursday, February 3, 2011

Dark Chocolate Pots de Creme with Candied Kumquats

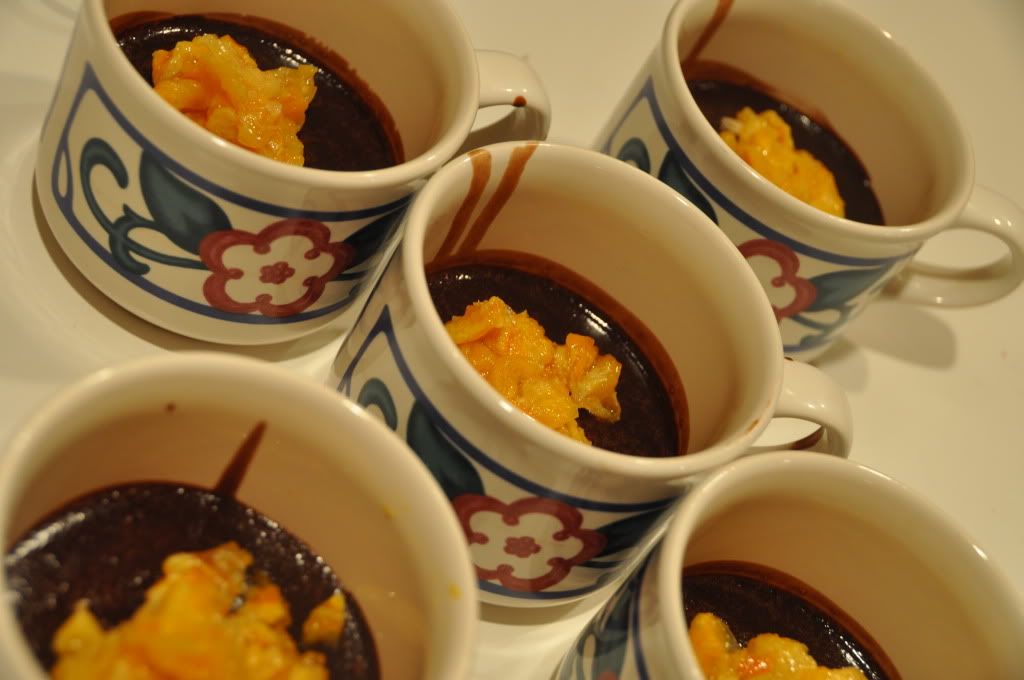
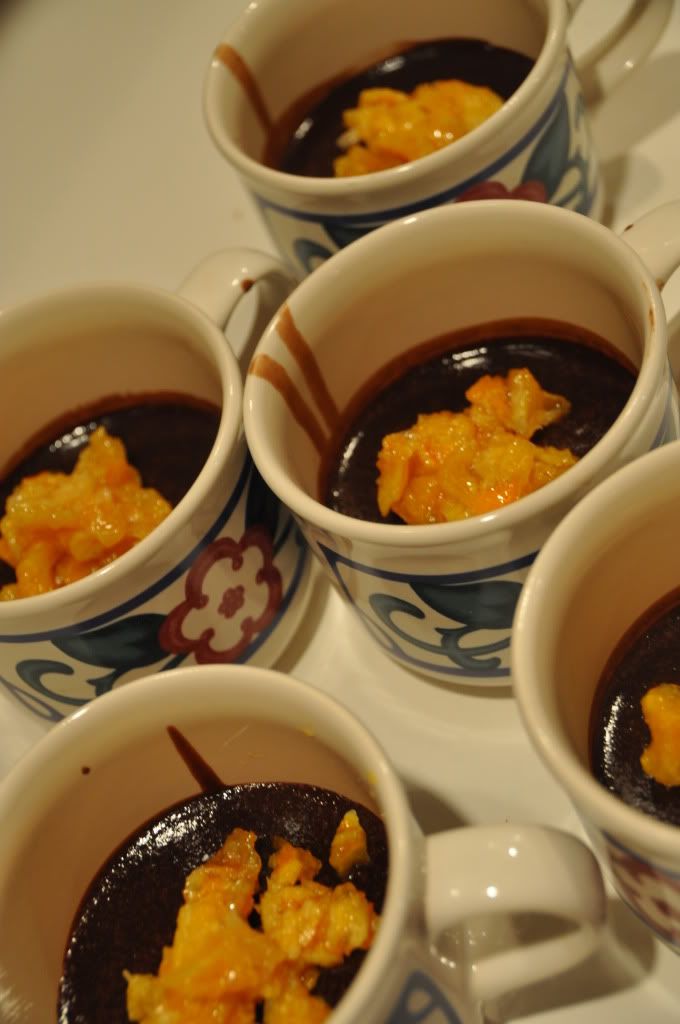
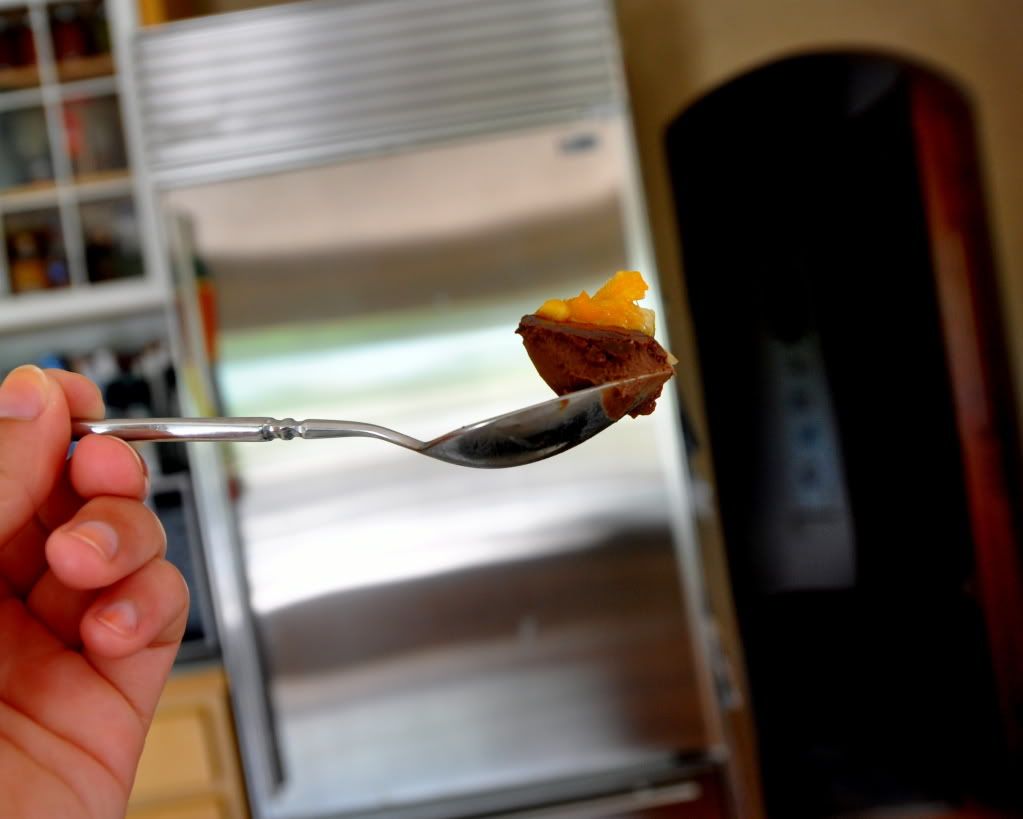
This recipe... oh my. It easily goes into the "top three" of my favorite things I've made (I don't know what the other two are but .. no matter). I've never made, more or less heard of, pots de creme before. Pronounced "poe de krehm" with a throaty sound on the word 'krehm' to make it sound legit, this elegant dessert is like a chocolate mousse, but richer and more dense. Almost custard-like, but not so eggy. Neither pictures or words can give justice to how decadent these were, but I'll proceed anyway after I say that you must, must, must try this dessert. Really, try making it, or ask someone else to make it for you. It's kind of urgent.

Ahh...so luxurious, so creamy, so smoooooth <3

Photobucket


Photobucket


Photobucket


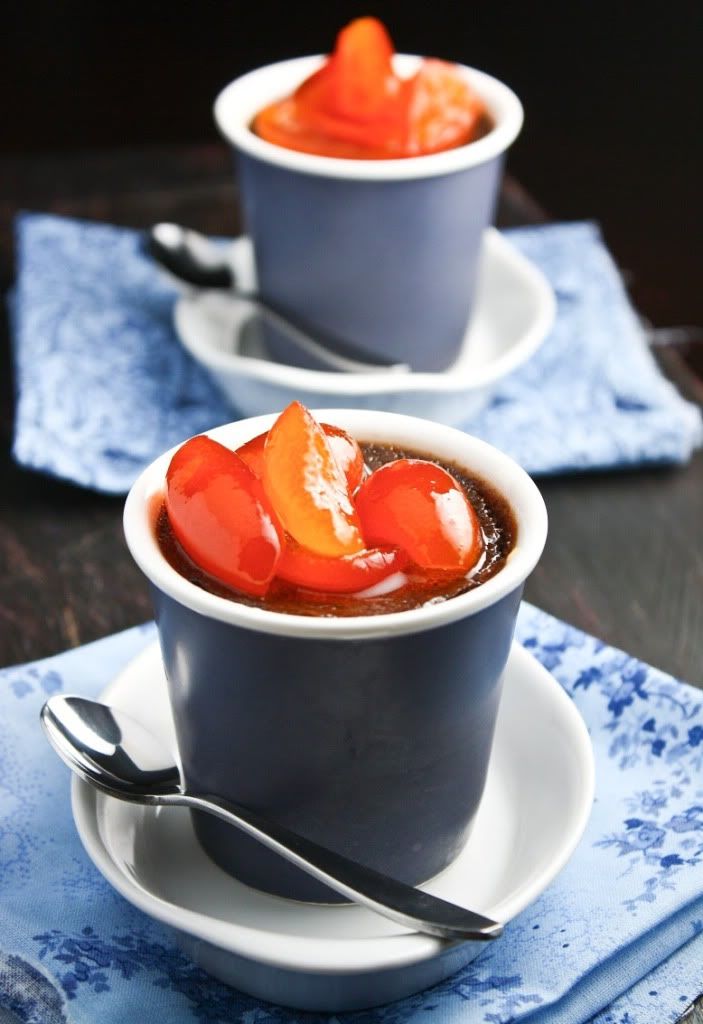
One note: The recipe I used called for candied kumquats to top the pots de creme. This would have been delicious. But me being a total noob figured: "Well I don't have kumquats, but I'm pretty sure those are just tiny oranges. I have Cuties [clementines], which are basically small oranges, so I'll just use those instead!" Turns out kumquats are like.. completely different fruits. They do look like tiny oranges, but they're much different in flavor and fruit-to-peel proportion. When candied, they would have produced a much tastier and better looking candied fruit topping, like so...


Photobucket


-from sprinklebakes.com


Nevertheless, the candied clementine topping wasn't too bad. I just wouldn't have minded them turning out like the ones in that picture above :)
Many people serve pots de creme with a dollop of whipped cream, which can be a nice accompaniment to set off the richness of the chocolate; others are purists and serve it as it is, which I'd totally be down for right now, as I'm currently in somewhat of a hardcore chocolate phase.


I got the recipe from http://www.sprinklebakes.com/ and I wouldn't do anything differently except for actually following the recipe and finding out what kumquats are before attempting to substitute in other random fruits o_O

Chocolate-Orange Pots de Creme
6-8 servings

6 oz. bittersweet chocolate finely chopped
1 1/3 cups heavy cream
2/3 cup whole milk
2 tablespoons orange extract
Pinch of salt (x2)
6 large egg yolks
2 tablespoons sugar

Preheat oven to 300 degrees.

Put chocolate in a heatproof bowl. Bring cream, milk, orange extract, and a pinch of salt just to a boil in a small saucepan, then pour over chocolate, whisking until chocolate is melted and mixture is smooth.

Whisk together yolks, sugar, and a pinch of salt in another bowl, then add warm chocolate mixture in a slow stream, whisking constantly. Pour custard through a fine-mesh sieve into a 1-quart glass measure and cool completely, stirring occasionally, about 15 minutes.


Divide custard among 6 - 4 oz. ramekins. Bake at 300 degrees in a hot water bath for 30- 35 minutes. Allow ramekins to cool on a wire rack for about an hour. Chill for 2 hours (or overnight) before serving.


Tuesday, February 1, 2011

Booburi Margaritas

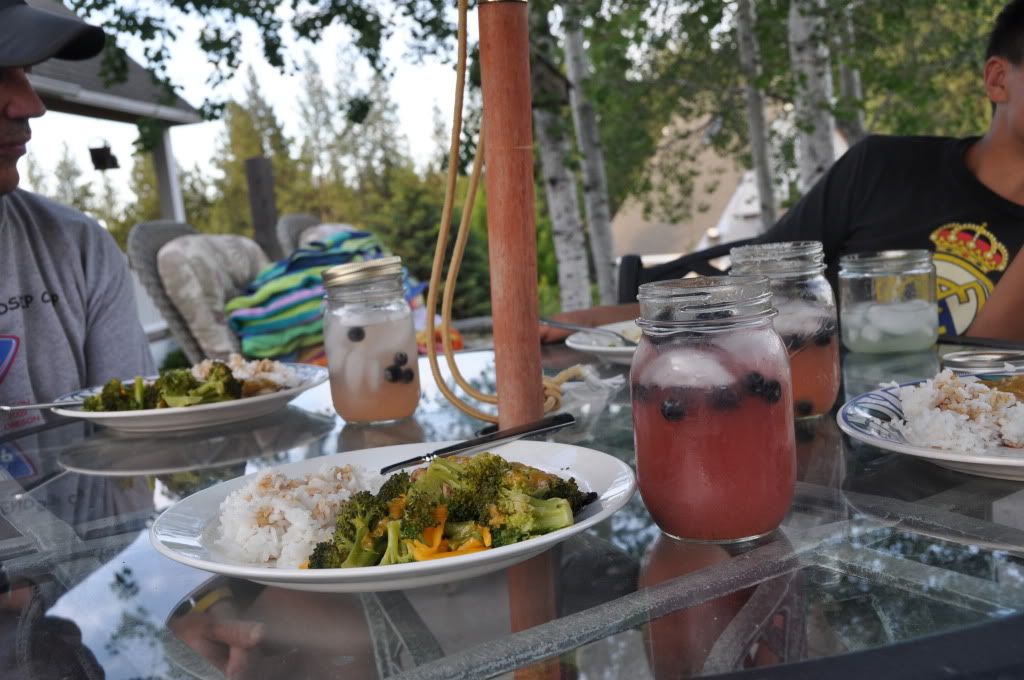
Sitting here in my little dorm room staring into the glow of my computer, my heart aches a little bit as I go through photos from this summer to post here on my blog. The days are getting longer, but still, the sun had already gone down here by five. As much as I'm all for living in the moment, looking at these pictures makes me long for summer evenings. Dinner on the back porch, watching the sun set over the wheat field, sipping on libations, chillin with the fam. The smell of chlorine in my hair, the sizzle of the BBQ makin' magic, the flowers in full bloom, our frog homies croaking at us from the stream, fresh produce from the garden.. so much goodness to take in--so much to be thankful for.

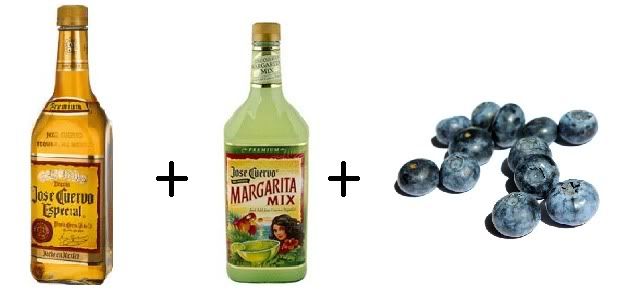
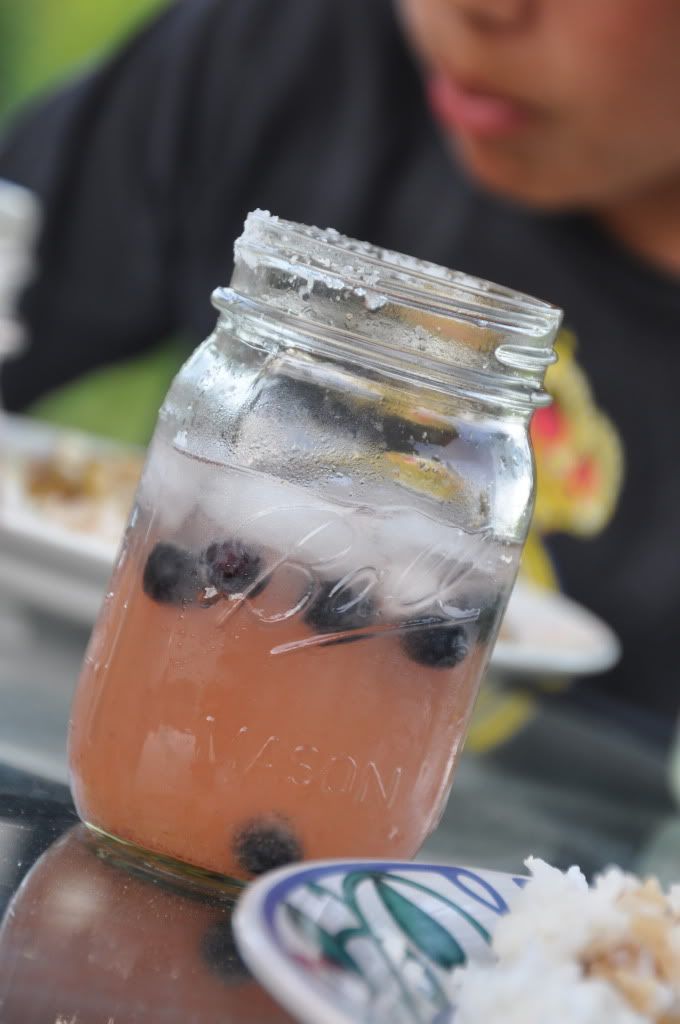
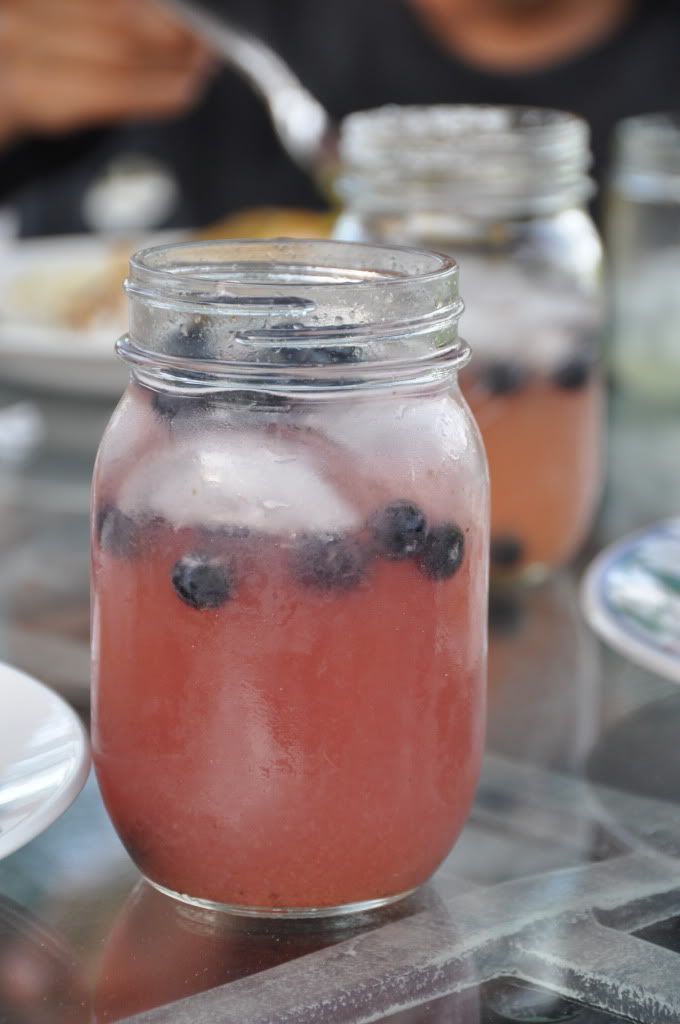
Ahhh...these nights were always the best. Man, summer in general. Good times. So to pay homage to good times: tonight's concoction is going to be blueberry margaritas! Es una fiesta!! Aye aye aye! Not really from scratch, but Jose Cuervo's mix is pretty good. Also, I used Jose Cuervo Especial (Gold) tequila. I doctored it up by blending blueberries and putting them through a fine mesh sieve to get the seeds and other undesireable bits out. They look nice with some whole blueberries thrown in at the end, too.


Photobucket

Photobucket


Photobucket


Photobucket


Mmmm.. so refreshing! Hopefully this summer I won't be so lazy and I'll try making margaritas from scratch. Maybe as an incentive I'll have to host a margarita-off. That would be SO RAD! I hope I don't forget about this idea. If you want in, help me remember and then I can invite you!! :)

Monday, January 31, 2011

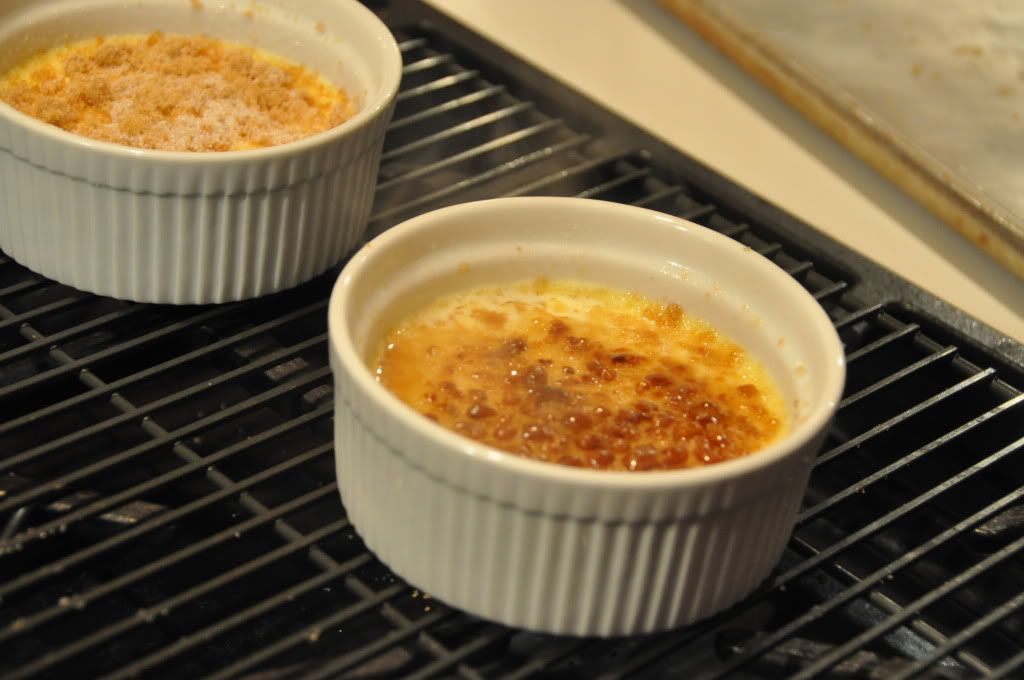
Creme de la Creme de la Edguh! Well.. Brulee, actually, but that's no fun.

Creme Brulee. Way more impressive than it sounds, no less delicious. This recipe I made had a rhubarb compote in it.
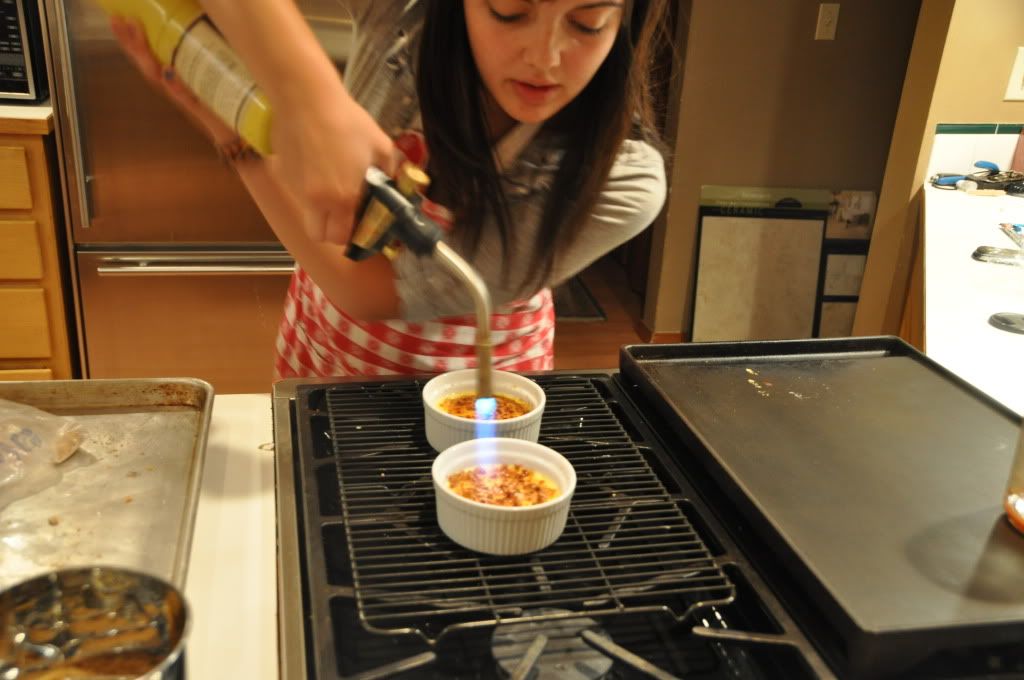
I kind of screwed it up in a couple different ways, but it still tasted and looked good, so that's why I'm posting about it! And even though this was a fail post, I highly encourage any and all of you to try making creme brulee! It's super fun playing with a blowtorch in the kitchen and the mistakes I made are easily avoidable.
Here's what I did wrong:
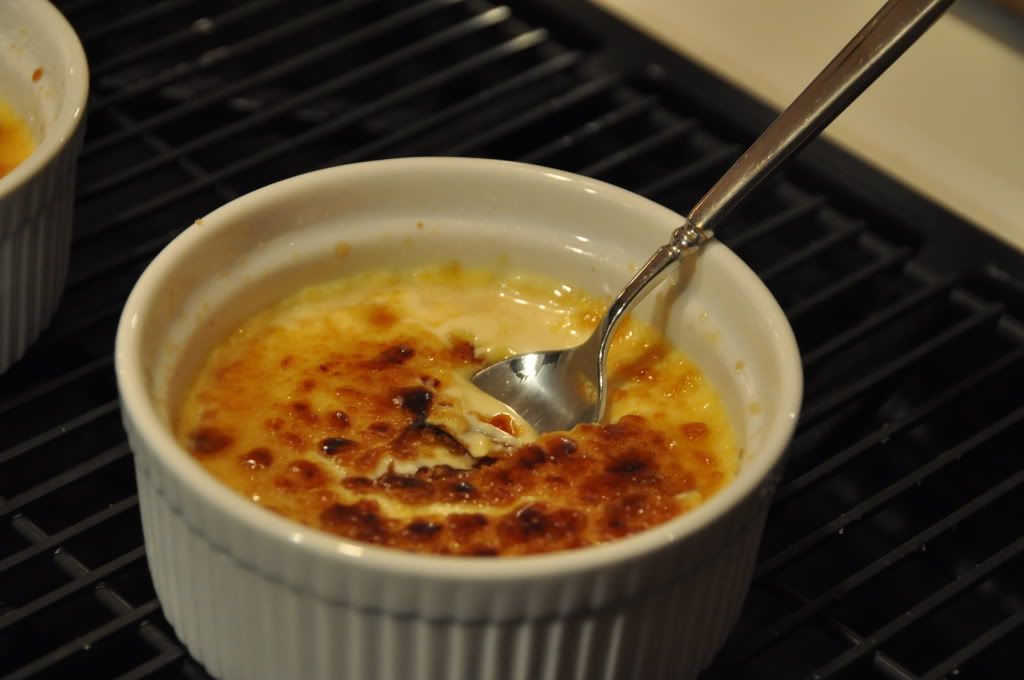
  1. I didn't bake the original custard long enough. It had developed a skin on top so I thought it was done but the inside was like a custard soup. Tasted good but not what it was supposed to be.
  2. Also, I used the wrong kind of sugar. Not on purpose. I just didn't have any caster sugar on hand so I used granulated sugar for the custard and brown sugar for the crackly bit on top. The result of this error wasn't really that evident, but the toffee on top didn't form very evenly and wasn't as snappy as I would have liked.

So.. if you make this recipe, make sure you actually follow the directions; and as much as you want to get your hands on that torch, be patient with the baking process!

Here are some prep pics...

Photobucket

Photobucket

Photobucket


Photobucket
The tartness of the rhubarb offset the sweetness of the custard very nicely. I will be using this recipe again next time I make creme brulee because the taste was perfect, I just didn't bake it correctly so the consistency was a bit off. It'll be fun experimenting with other flavors as well- maybe lavender?


Rhubarb and Vanilla Crème brûlée
(adapted from Bourke St Bakery creme brulee custard recipe, makes approx 6)
200g fresh rhubarb
100g sugar
zest of one lemon
430ml whipping cream (35% fat)
1 vanilla bean, split lengthways
6 egg yolks
70g caster sugar + extra for burning

Stew the rhubarb first; chop rhubarb into 1cm pieces and place in a medium saucepan with lemon zest and sugar. Cook on medium heat for about 10 minutes until tender and just starting to fall apart. Remove from the heat and set aside to cool.

Place cream in a small saucepan, scrape the seeds of the vanilla bean into the cream and add the bean. Bring to the boil over high heat. As soon as it boils, remove from the heat and set aside for about 10 minutes.

Place egg yolks in stainless steel bowl and use a whisk to combine. Add sugar and whisk for about 30 seconds, or until the sugar has dissolved. Pour the slightly cooled cream through a fine sieve, discarding the vanilla bean, then pour the cream into the egg yolk mixture, stirring well to combine. Fold in the stewed rhubarb.

Spoon the warm custard mixture into 6 1/2 cup ramekins, until full. Place ramekins in a deep baking tray and pour in enough water to come halfway up the sides of the ramekins. Bake in oven for about 45 minutes, or until just set.

Remove from the oven and cool on a wire rack, then place in the fridge for at least 4 hours. Sprinkle 2 tsp of caster sugar over the top of each ramekin and caramelise with blowtorch. Happy days!

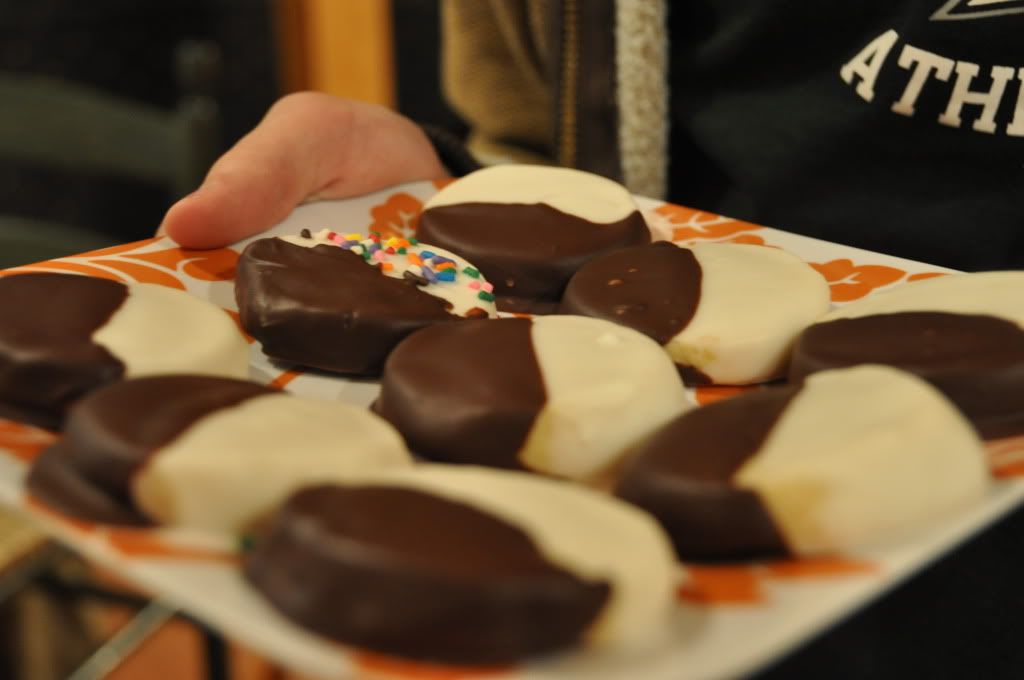
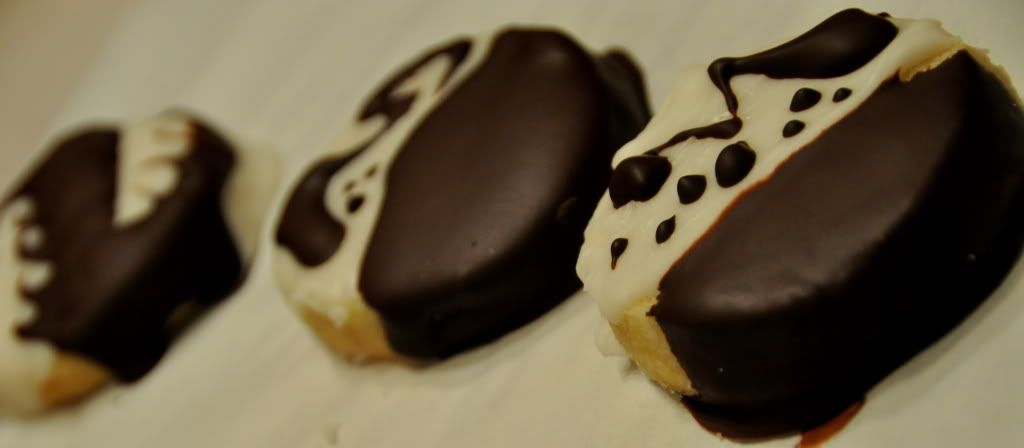
It's black and white

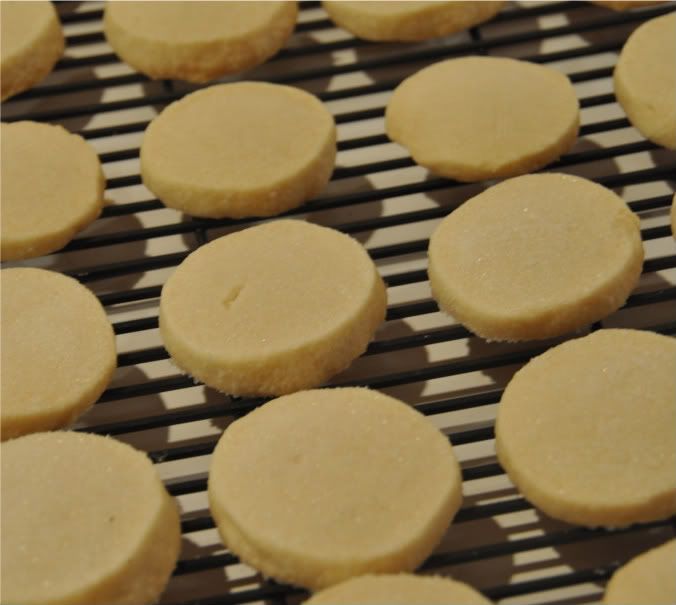
I hate to admit that once in a while I'm one of those people who just can't leave a good thing as it is. I doctor. And on top of that, I usually doctor without having any idea what I'm doing. So one night I made some absolutely delicious, melt-in-your mouth shortbread cookies with a pinch of granulated sugar sprinkled on top for the perfect amount of sweetness. As the story goes, even after tasting them and knowing how good they were, I wanted them to be prettier, to be more snazzy, more flashy!! With my hands twitching as I resisted the urge to reach for the decorating bin in my closet, I finally made a compromise with myself. If I was going to decorate, it had to be with purpose. So with that mindset, I decided to make these tres chic black and white cookies, like the ones you see in coffee shops and cafes.
Here they are before they went on the operating table. Unadulturated, and perfectly fine.

Photobucket


For the 'chic'afication process, I ended up dipping them in dark chocolate and vanilla candy melts. The candy melts were surprisingly tasty and really easy to work with. And of course the dark chocolate was, well.. dark chocolate. Mmmmm <3

Photobucket


Photobucket


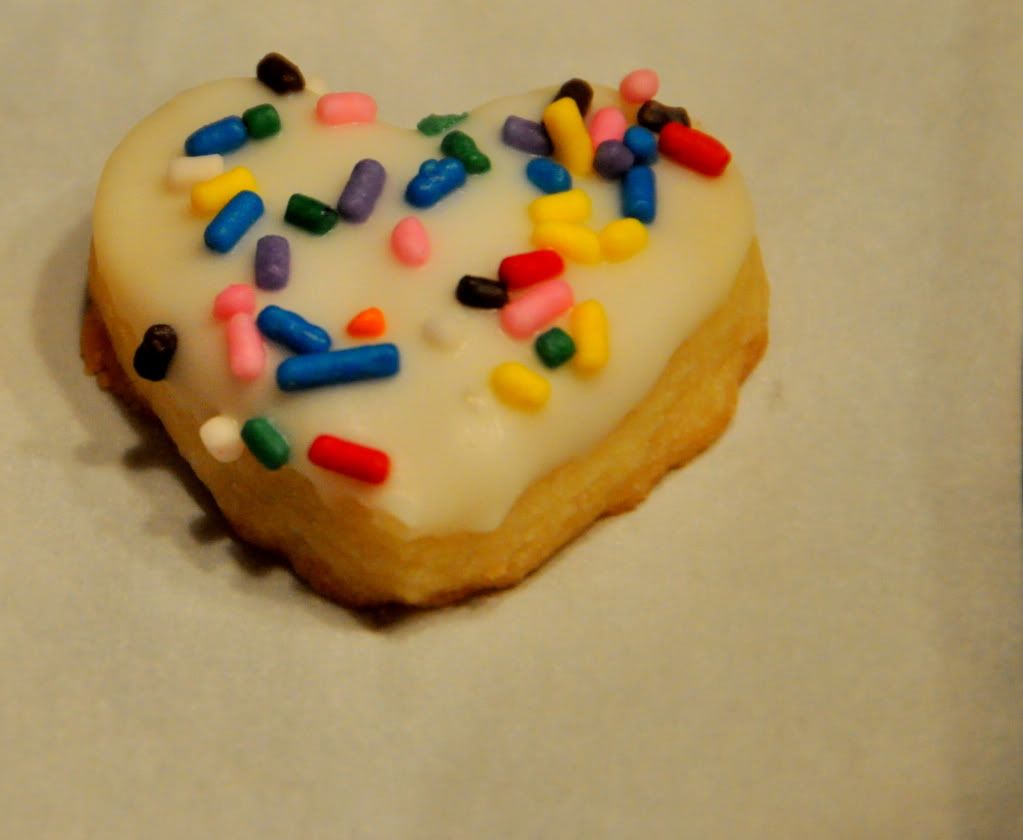
And couldn't resist the totes adorbz standard...


Photobucket


So.. yeah, not too bad!!

Here's a Basic Vanilla Shortbread recipe by Ina Garten from The Barefoot Contessa Cookbook. I know I've probably said this already, but don't be afraid to experiment with this recipe. Shortbread dough is probably the most versatile cookie dough out there and there's so many different kinds of mix-ins you can play around with!

This recipe makes about 4 dozen small shortbread.

■3/4 pound (1 1/2 cups or 3 sticks) unsalted butter at room temperature
■1 cup sugar
■1 teaspoon pure vanilla extract
■3 1/2 cups all-purpose flour
■1/4 teaspoon salt

1.In the bowl of an electric mixer fitted with a paddle attachment, mix together the butter and sugar until they are just combined. Add the vanilla.
2.In a medium bowl, sift together the flour and salt, then add them to the butter-and-sugar mixture. Mix on low speed until the dough starts to come together.
3.Dump onto a surface dusted with flour and bring everything together with your hands. Divide dough into four pieces and flatten slightly. Wrap each piece in plastic and chill. Bake at 350 degrees for as long as needed depending on the size of your cookies.


Friday, January 28, 2011

NBD

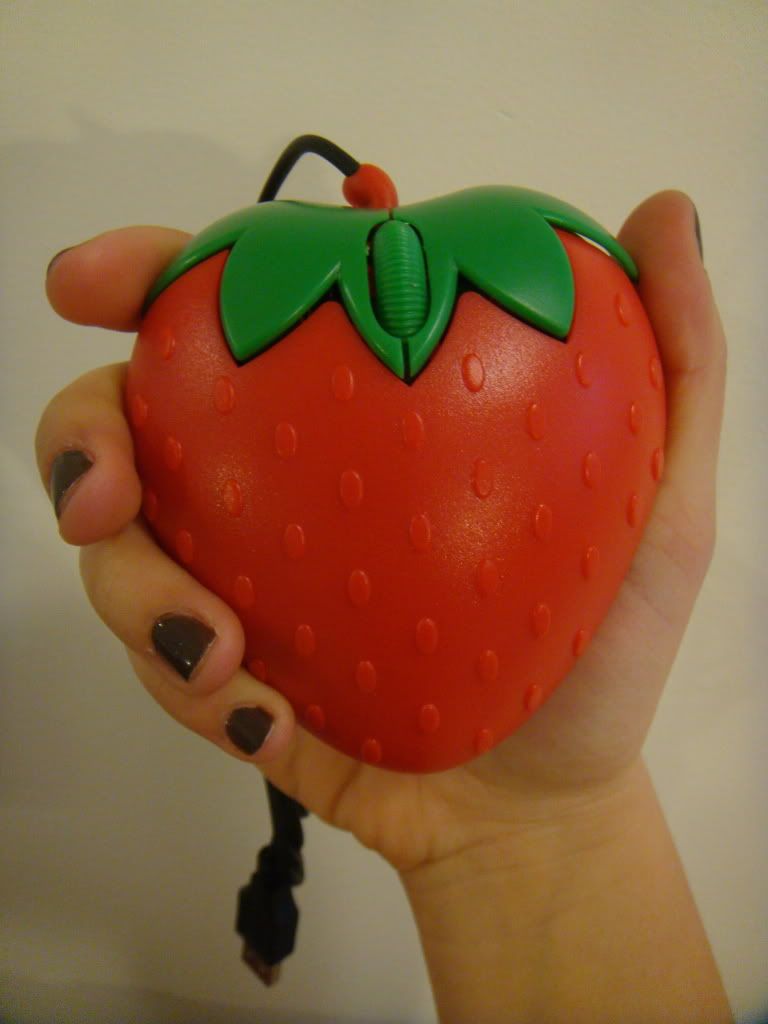
Check out what came in the mail this week :)

Photobucket


Photobucket


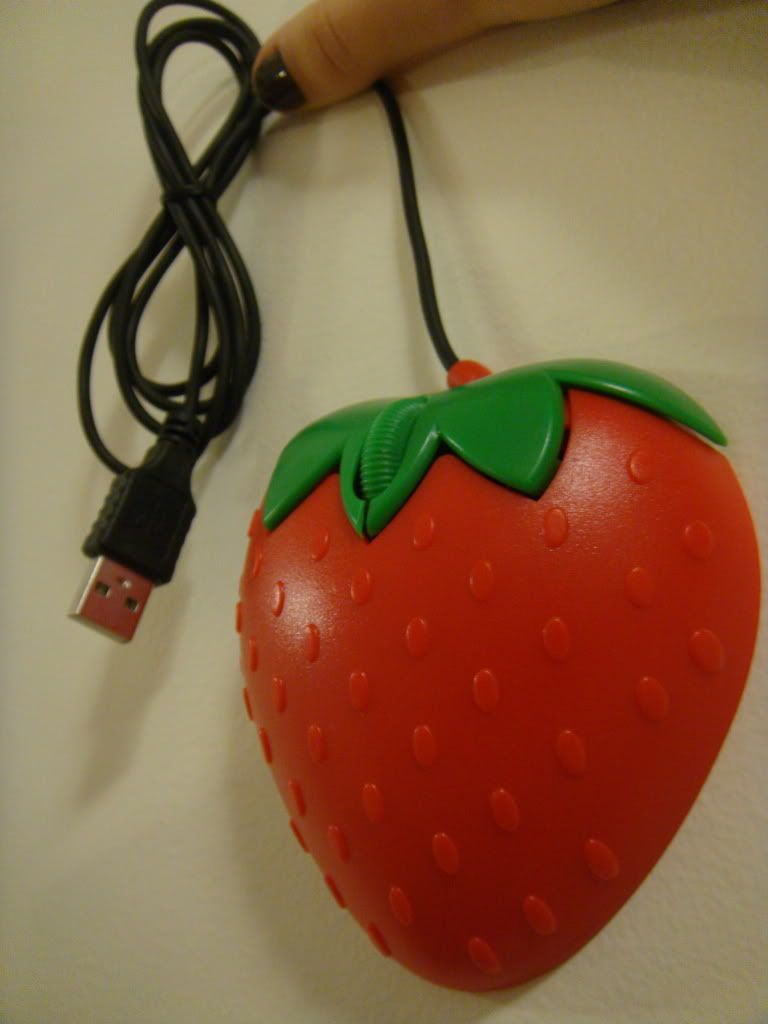
Hey this isn't an electronics blog!! But heyyyy der it's a STRAWBERRY mouse. Fruit. This lil' cutie was five bucks from tinydeal.com with free shipping worldwide. I just couldn't resist! Plus, now I'm totally going to own on Bejeweled Blitz and Ninja Glove. ( http://www.miniclip.com/games/ninja-glove/en/ ).

In other Strawberry Mouse news...

Are you craving summer? Is your skin turning more pale and ghost-like by the minute? Do you scream at the smallest patch of blue in the sky for being such a tease? Well then this recipe is for you!! Okay, I can't guarantee that this dessert will give you your summer fix, but it sure does look tasty and it's not too bad for you either! I can't wait to make this once strawberries start showing up at decent prices in the market. Or once they turn up in SUB.

Here is a Strawberry Mousse recipe as adapted by me from Healthy Indulgences and from Sugar and Everything Nice

Sugar and Everything Nice: ( http://sugareverythingnice.blogspot.com/2009/07/strawberry-mousse.html ).


Healthy Indulgences: ( http://healthyindulgences.blogspot.com/2009/07/easy-sugar-free-strawberry-mousse-low.html )

.................................................................... -Photo from Healthy Indulgences

Strawberry Mousse

Ingredients:

2 teaspoons powdered gelatin
1 tablespoon water
8 oz (210g) strawberries, pureed
1/4 cup (50g) sugar
1/2 teaspoon lemon zest
1 tablespoon lemon juice
3/4 cup (190ml) heavy cream

Method:

1) Prepare the strawberry mousse: sprinkle the gelatin over the water in a small bowl and set aside to bloom (soften).

2) In a medium saucepan set over medium heat, stir together the strawberries and sugar just until hot.

3) Add the gelatin and stir until it is completely melted. Let cool to room temperature.

4) In the meantime, whip the heavy cream to soft peaks. Once the strawberries are at the right temperature, carefully fold the whipped cream into the fruit base.

5) Pour into serving bowls and chill for at least 4 hours or overnight.

  • For a more stiff mousse that you can pipe into bowls for a pretty presentation, follow these directions after soaking the gelatin:

    Place the strawberries, lemon juice, lemon zest, and salt in a saucepan over medium low heat, and add the sweetener and water and cook, breaking up with your spatula. Stir until dissolved. Simmer for 10 minutes, or until the strawberries have slightly thickened. Add the gelatin to the pan, and stir until it is completely melted. Puree in a blender or food processor. Let cool to room temperature. Whip the heavy cream to stiff peaks with a hand mixer, and beat in vanilla and extra sweetener to taste. Once the strawberries are cooled, carefully fold the whipped cream into the fruit puree. Pipe mixture into serving bowls, and chill for at least an hour.

Thursday, January 27, 2011

Blackberry Frozen Yoghurt

Photobucket

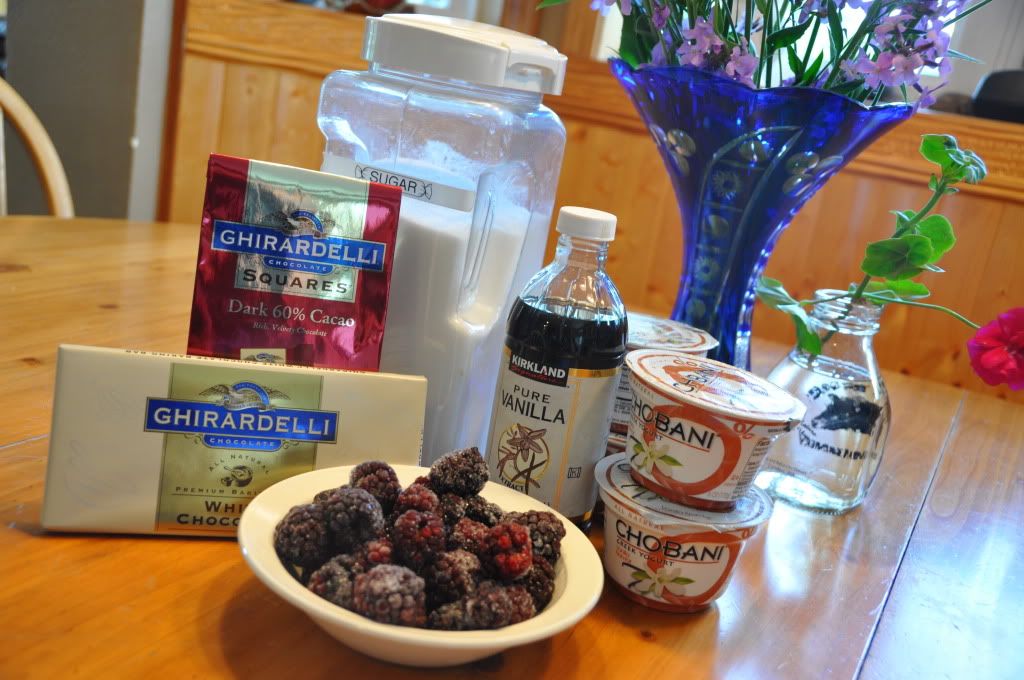
Really can't go wrong with these ingredients..
Photobucket

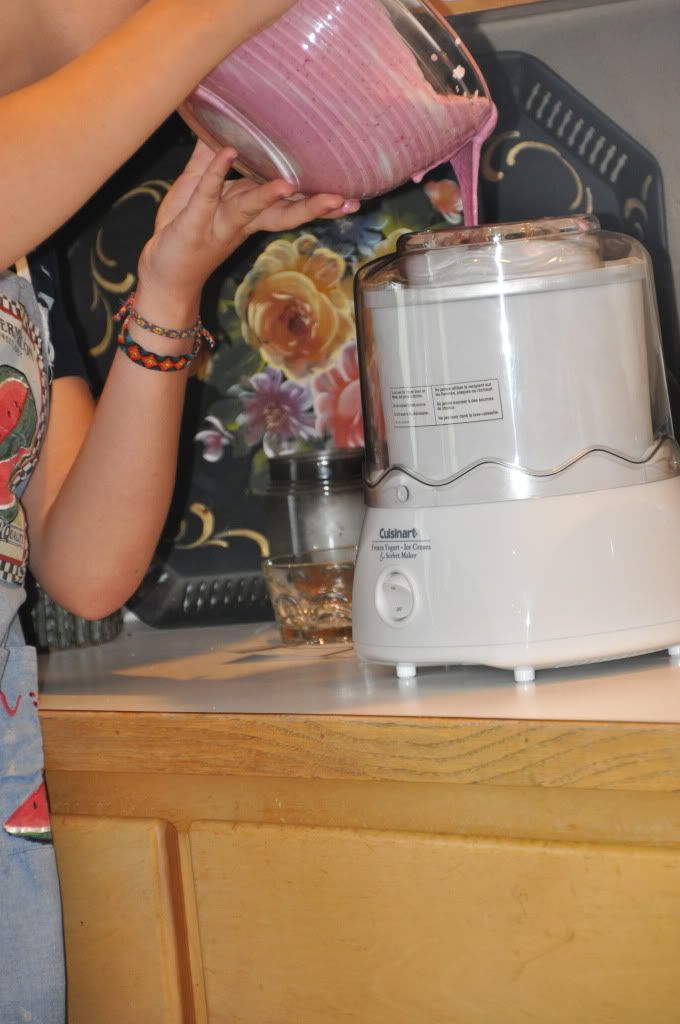
Way stoked on our new Cuisinart ice cream maker. Action shot!

Photobucket


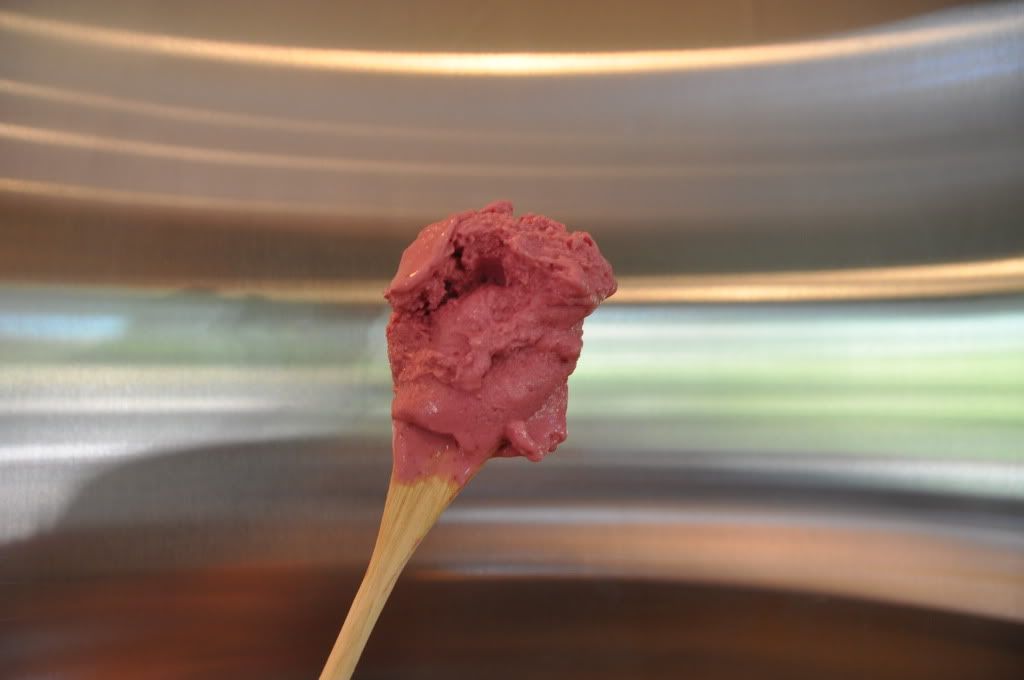
I'll just come right out and say it. This recipe gets a 5/10. Seeing what was going into this frozen yoghurt, I really couldn't see anything going wrong. But then again, I was totes noobsky, having just "received" the ice cream maker "for my birthday" (it was really just for the fam and was going to stay at the house). But that ended up being a good thing; I wouldn't have the time or space for it here, and the gifting process was still just as exciting!
Anyway, for some reason I just couldn't get this to the right consistency. It just didn't get hard enough after churning and churning and churning, and eventually the ice in the mixing bowl melted and it was too late. On top of that it was preeeetty tart. This was probably due to the use of greek yoghurt instead of cream. But that's what makes it frozen yoghurt and not ice cream. So I guess I just need to experiment some more...

Conclusion: I don't think I'd use this recipe again. It just didn't hit me. So this is one of those "warning don't use these combinations and proportions of ingredients" posts.

Purple Cow Frozen Yogurt (Frozen Yogurt base previously published in David Lebovitz’s book Perfect Scoop as discovered on Heidi Swanson’s website 101 Cookbooks).

3 cups Greek-style yogurt (Note: I used Fage)
3/4 cup sugar, plus 1 tablespoon
1 teaspoon vanilla extract
2 cups blackberries (or black raspberries, if you can find them)
4 ounces of white Ghirardelli chocolate, chopped
4 ounces of dark Ghirardelli chocolate, chopped

Mix together the yogurt, sugar, and vanilla. Stir until the sugar is completely dissolved. Refrigerate 1 hour.

Puree the blackberries in a food processor and than strain through a fine mesh sieve to separate the liquid from the seeds. Stir 1 tablespoon of sugar into the berry puree and also refrigerate for 1 hour.

Thoroughly combine the frozen yogurt base with the berry puree and freeze in your ice cream maker according to the manufacturer’s instructions. Don’t be like me and actually read them. Stir in the chocolate chunks by hand at the end of the freezing process. Finally package in a tightly sealed container and leave in your freezer until completely frozen. Serve and make-up with anyone you may have offended during the cooking process.