Monday, January 31, 2011

Creme de la Creme de la Edguh! Well.. Brulee, actually, but that's no fun.

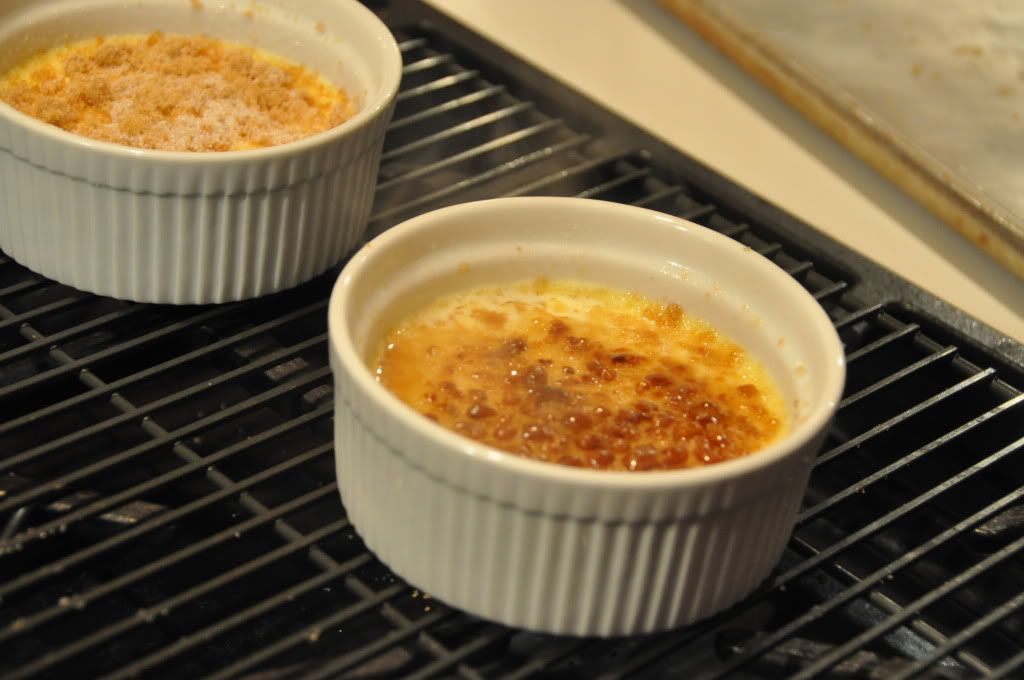
Creme Brulee. Way more impressive than it sounds, no less delicious. This recipe I made had a rhubarb compote in it.
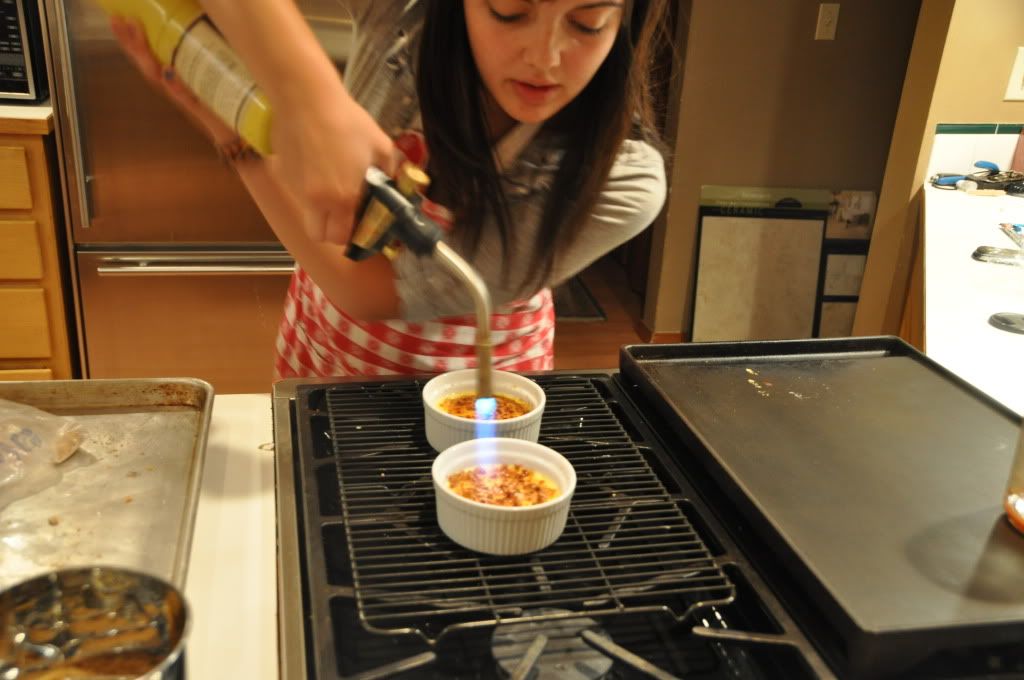
I kind of screwed it up in a couple different ways, but it still tasted and looked good, so that's why I'm posting about it! And even though this was a fail post, I highly encourage any and all of you to try making creme brulee! It's super fun playing with a blowtorch in the kitchen and the mistakes I made are easily avoidable.
Here's what I did wrong:
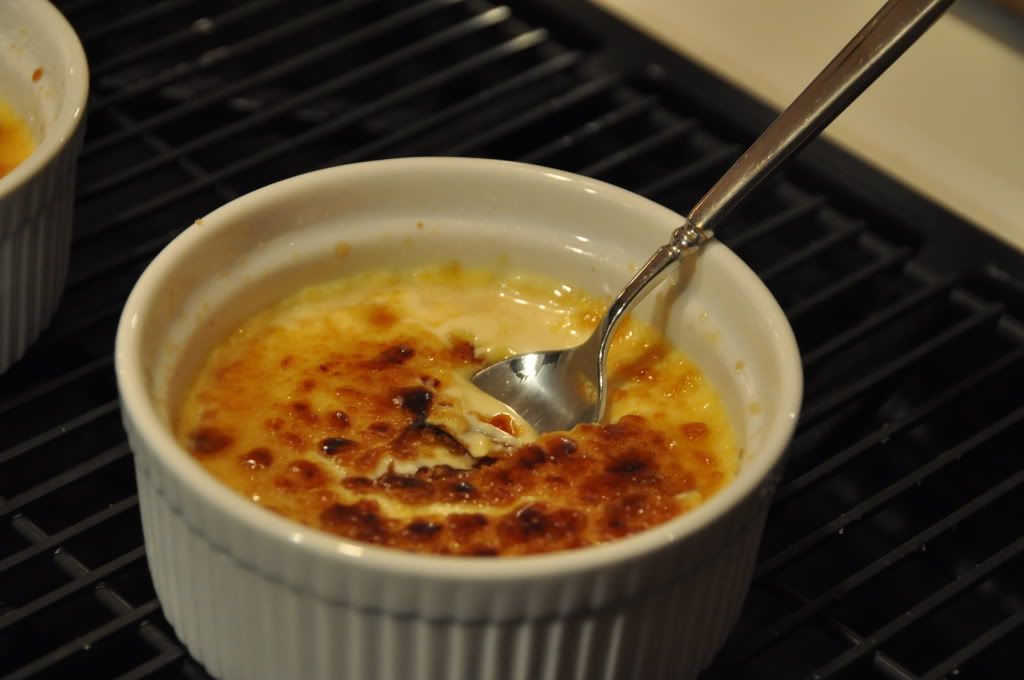
  1. I didn't bake the original custard long enough. It had developed a skin on top so I thought it was done but the inside was like a custard soup. Tasted good but not what it was supposed to be.
  2. Also, I used the wrong kind of sugar. Not on purpose. I just didn't have any caster sugar on hand so I used granulated sugar for the custard and brown sugar for the crackly bit on top. The result of this error wasn't really that evident, but the toffee on top didn't form very evenly and wasn't as snappy as I would have liked.

So.. if you make this recipe, make sure you actually follow the directions; and as much as you want to get your hands on that torch, be patient with the baking process!

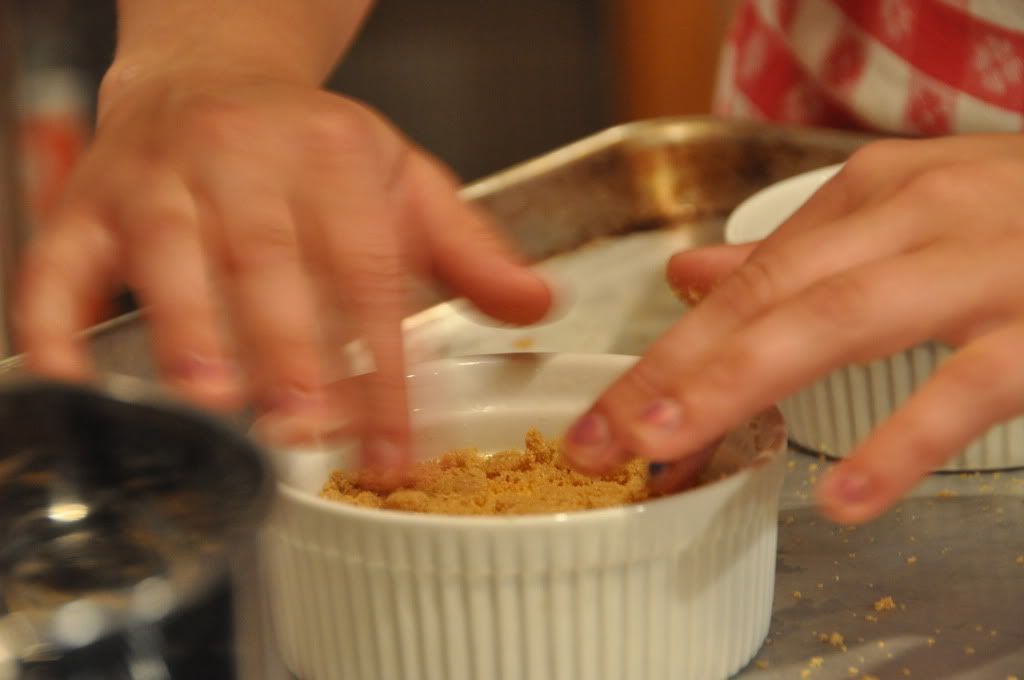
Here are some prep pics...

Photobucket

Photobucket

Photobucket


Photobucket
The tartness of the rhubarb offset the sweetness of the custard very nicely. I will be using this recipe again next time I make creme brulee because the taste was perfect, I just didn't bake it correctly so the consistency was a bit off. It'll be fun experimenting with other flavors as well- maybe lavender?


Rhubarb and Vanilla Crème brûlée
(adapted from Bourke St Bakery creme brulee custard recipe, makes approx 6)
200g fresh rhubarb
100g sugar
zest of one lemon
430ml whipping cream (35% fat)
1 vanilla bean, split lengthways
6 egg yolks
70g caster sugar + extra for burning

Stew the rhubarb first; chop rhubarb into 1cm pieces and place in a medium saucepan with lemon zest and sugar. Cook on medium heat for about 10 minutes until tender and just starting to fall apart. Remove from the heat and set aside to cool.

Place cream in a small saucepan, scrape the seeds of the vanilla bean into the cream and add the bean. Bring to the boil over high heat. As soon as it boils, remove from the heat and set aside for about 10 minutes.

Place egg yolks in stainless steel bowl and use a whisk to combine. Add sugar and whisk for about 30 seconds, or until the sugar has dissolved. Pour the slightly cooled cream through a fine sieve, discarding the vanilla bean, then pour the cream into the egg yolk mixture, stirring well to combine. Fold in the stewed rhubarb.

Spoon the warm custard mixture into 6 1/2 cup ramekins, until full. Place ramekins in a deep baking tray and pour in enough water to come halfway up the sides of the ramekins. Bake in oven for about 45 minutes, or until just set.

Remove from the oven and cool on a wire rack, then place in the fridge for at least 4 hours. Sprinkle 2 tsp of caster sugar over the top of each ramekin and caramelise with blowtorch. Happy days!

It's black and white

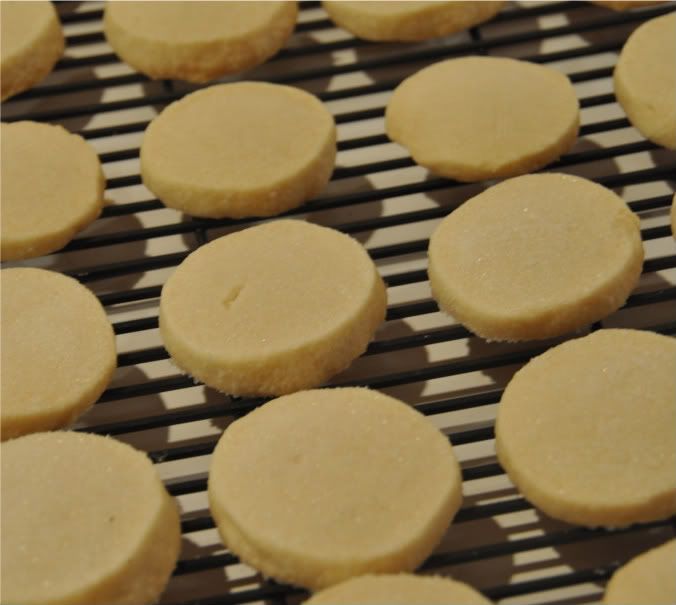
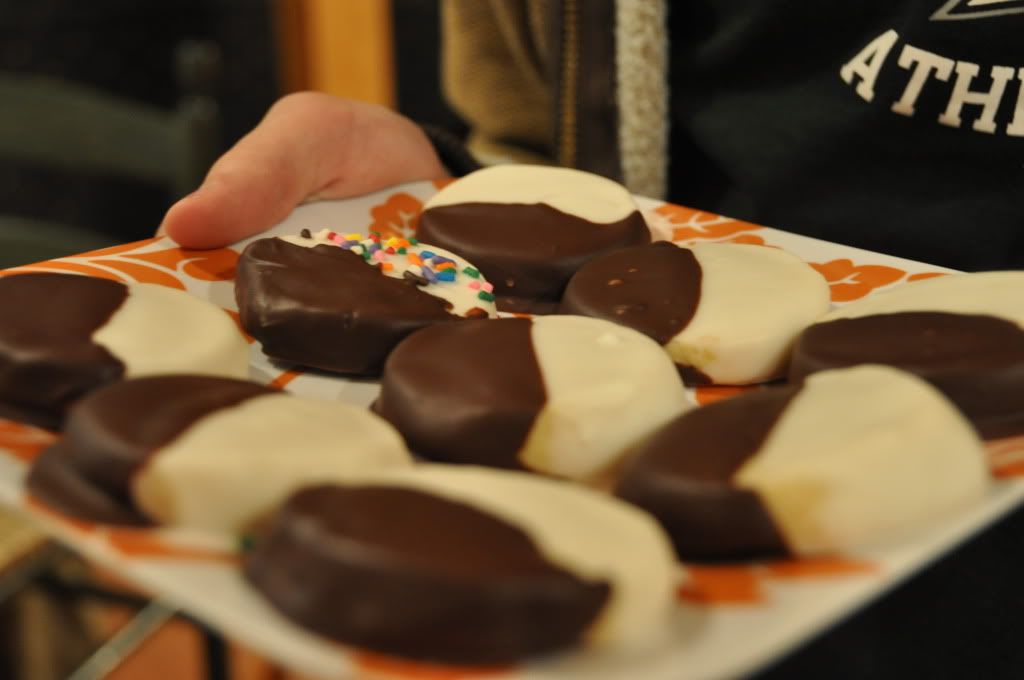
I hate to admit that once in a while I'm one of those people who just can't leave a good thing as it is. I doctor. And on top of that, I usually doctor without having any idea what I'm doing. So one night I made some absolutely delicious, melt-in-your mouth shortbread cookies with a pinch of granulated sugar sprinkled on top for the perfect amount of sweetness. As the story goes, even after tasting them and knowing how good they were, I wanted them to be prettier, to be more snazzy, more flashy!! With my hands twitching as I resisted the urge to reach for the decorating bin in my closet, I finally made a compromise with myself. If I was going to decorate, it had to be with purpose. So with that mindset, I decided to make these tres chic black and white cookies, like the ones you see in coffee shops and cafes.
Here they are before they went on the operating table. Unadulturated, and perfectly fine.

Photobucket


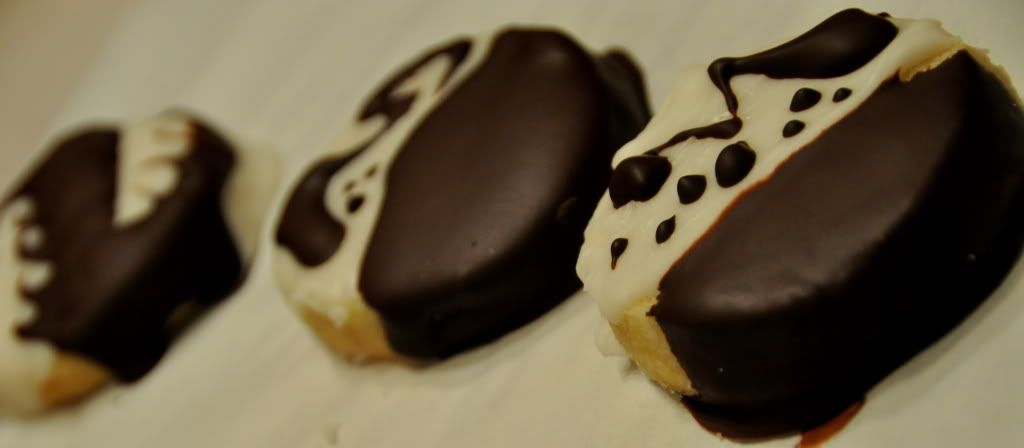
For the 'chic'afication process, I ended up dipping them in dark chocolate and vanilla candy melts. The candy melts were surprisingly tasty and really easy to work with. And of course the dark chocolate was, well.. dark chocolate. Mmmmm <3

Photobucket


Photobucket


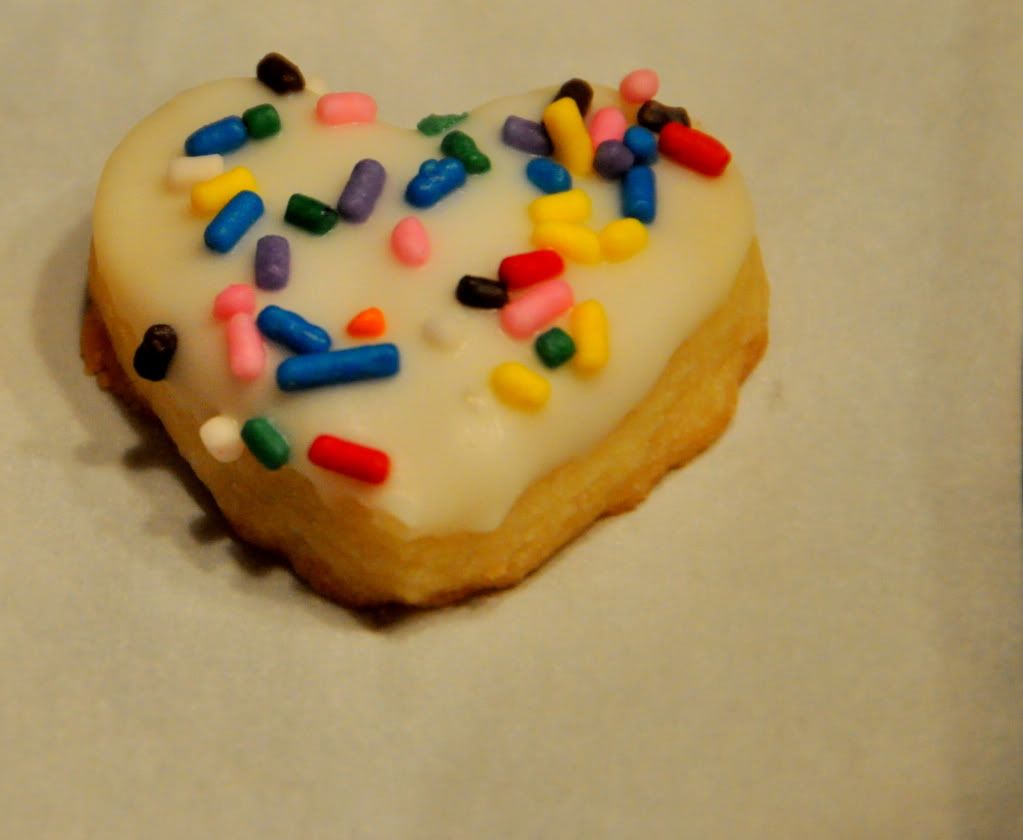
And couldn't resist the totes adorbz standard...


Photobucket


So.. yeah, not too bad!!

Here's a Basic Vanilla Shortbread recipe by Ina Garten from The Barefoot Contessa Cookbook. I know I've probably said this already, but don't be afraid to experiment with this recipe. Shortbread dough is probably the most versatile cookie dough out there and there's so many different kinds of mix-ins you can play around with!

This recipe makes about 4 dozen small shortbread.

■3/4 pound (1 1/2 cups or 3 sticks) unsalted butter at room temperature
■1 cup sugar
■1 teaspoon pure vanilla extract
■3 1/2 cups all-purpose flour
■1/4 teaspoon salt

1.In the bowl of an electric mixer fitted with a paddle attachment, mix together the butter and sugar until they are just combined. Add the vanilla.
2.In a medium bowl, sift together the flour and salt, then add them to the butter-and-sugar mixture. Mix on low speed until the dough starts to come together.
3.Dump onto a surface dusted with flour and bring everything together with your hands. Divide dough into four pieces and flatten slightly. Wrap each piece in plastic and chill. Bake at 350 degrees for as long as needed depending on the size of your cookies.


Friday, January 28, 2011

NBD

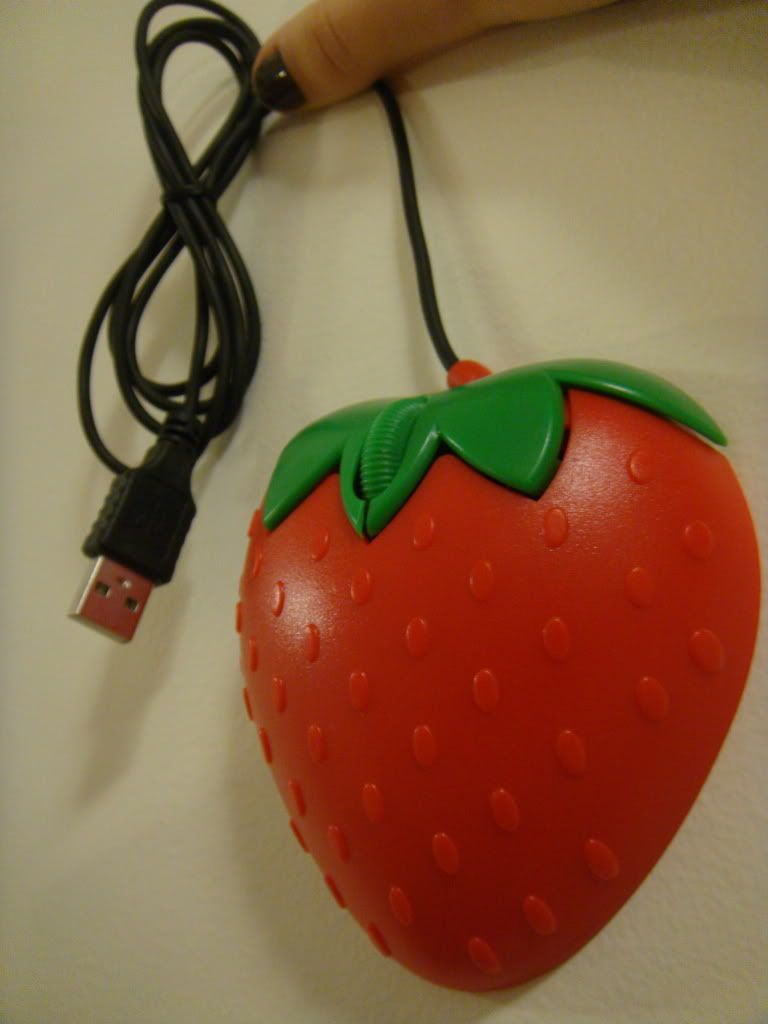
Check out what came in the mail this week :)

Photobucket


Photobucket


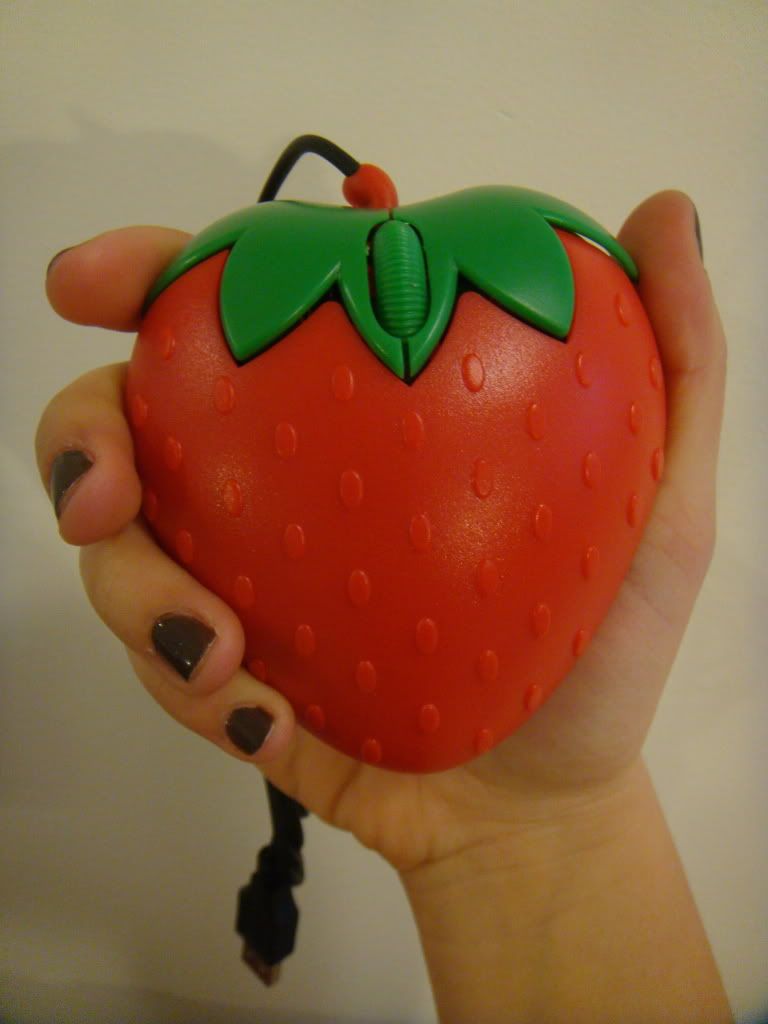
Hey this isn't an electronics blog!! But heyyyy der it's a STRAWBERRY mouse. Fruit. This lil' cutie was five bucks from tinydeal.com with free shipping worldwide. I just couldn't resist! Plus, now I'm totally going to own on Bejeweled Blitz and Ninja Glove. ( http://www.miniclip.com/games/ninja-glove/en/ ).

In other Strawberry Mouse news...

Are you craving summer? Is your skin turning more pale and ghost-like by the minute? Do you scream at the smallest patch of blue in the sky for being such a tease? Well then this recipe is for you!! Okay, I can't guarantee that this dessert will give you your summer fix, but it sure does look tasty and it's not too bad for you either! I can't wait to make this once strawberries start showing up at decent prices in the market. Or once they turn up in SUB.

Here is a Strawberry Mousse recipe as adapted by me from Healthy Indulgences and from Sugar and Everything Nice

Sugar and Everything Nice: ( http://sugareverythingnice.blogspot.com/2009/07/strawberry-mousse.html ).


Healthy Indulgences: ( http://healthyindulgences.blogspot.com/2009/07/easy-sugar-free-strawberry-mousse-low.html )

.................................................................... -Photo from Healthy Indulgences

Strawberry Mousse

Ingredients:

2 teaspoons powdered gelatin
1 tablespoon water
8 oz (210g) strawberries, pureed
1/4 cup (50g) sugar
1/2 teaspoon lemon zest
1 tablespoon lemon juice
3/4 cup (190ml) heavy cream

Method:

1) Prepare the strawberry mousse: sprinkle the gelatin over the water in a small bowl and set aside to bloom (soften).

2) In a medium saucepan set over medium heat, stir together the strawberries and sugar just until hot.

3) Add the gelatin and stir until it is completely melted. Let cool to room temperature.

4) In the meantime, whip the heavy cream to soft peaks. Once the strawberries are at the right temperature, carefully fold the whipped cream into the fruit base.

5) Pour into serving bowls and chill for at least 4 hours or overnight.

  • For a more stiff mousse that you can pipe into bowls for a pretty presentation, follow these directions after soaking the gelatin:

    Place the strawberries, lemon juice, lemon zest, and salt in a saucepan over medium low heat, and add the sweetener and water and cook, breaking up with your spatula. Stir until dissolved. Simmer for 10 minutes, or until the strawberries have slightly thickened. Add the gelatin to the pan, and stir until it is completely melted. Puree in a blender or food processor. Let cool to room temperature. Whip the heavy cream to stiff peaks with a hand mixer, and beat in vanilla and extra sweetener to taste. Once the strawberries are cooled, carefully fold the whipped cream into the fruit puree. Pipe mixture into serving bowls, and chill for at least an hour.

Thursday, January 27, 2011

Blackberry Frozen Yoghurt

Photobucket

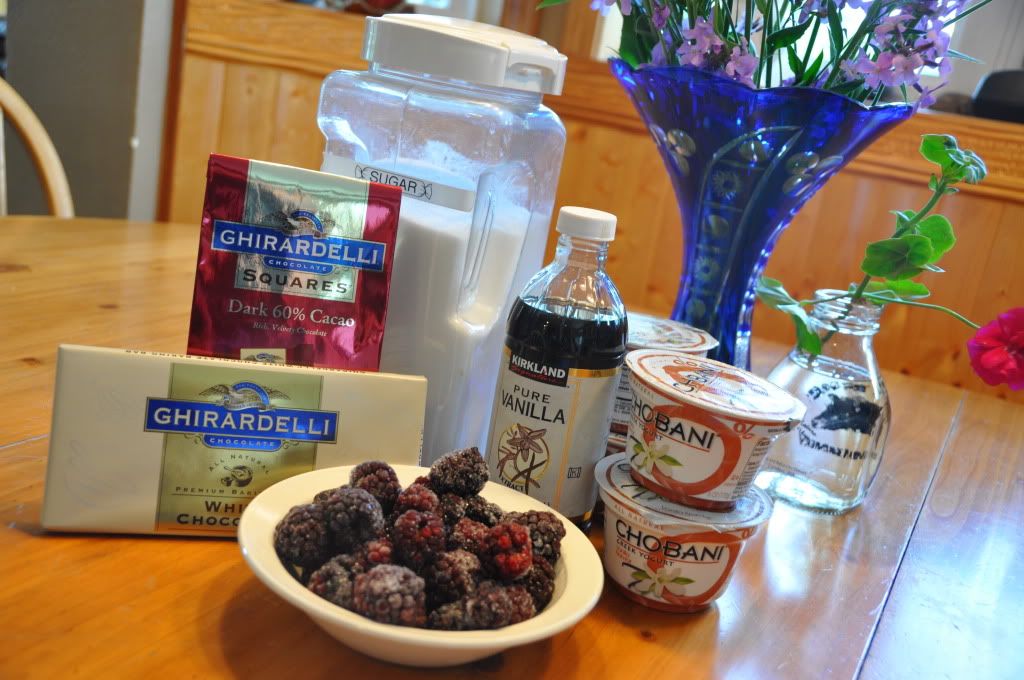
Really can't go wrong with these ingredients..
Photobucket

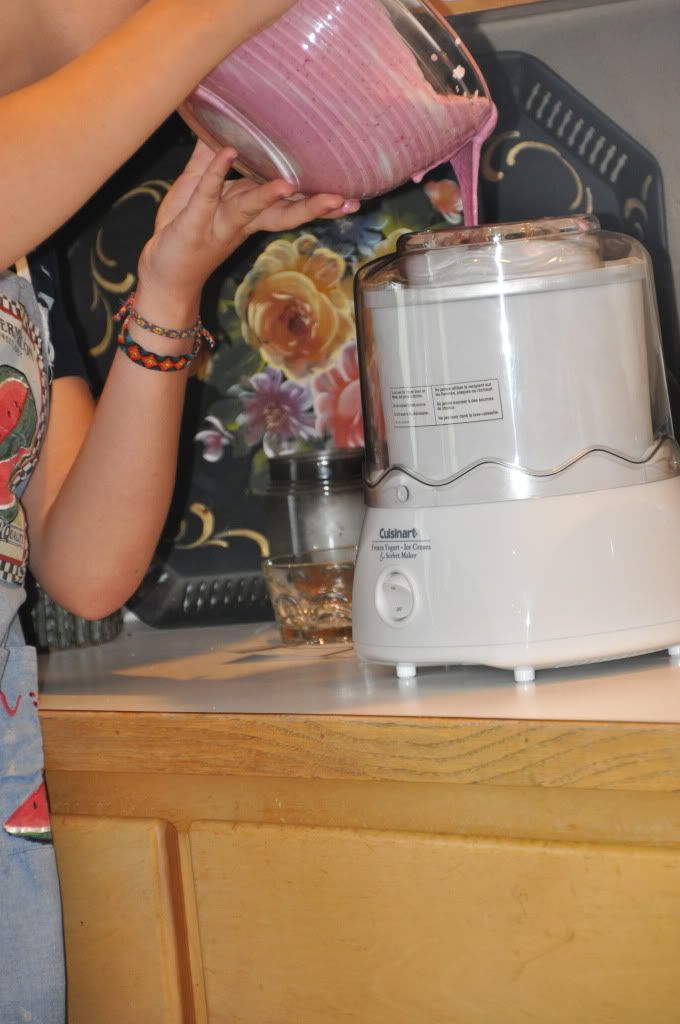
Way stoked on our new Cuisinart ice cream maker. Action shot!

Photobucket


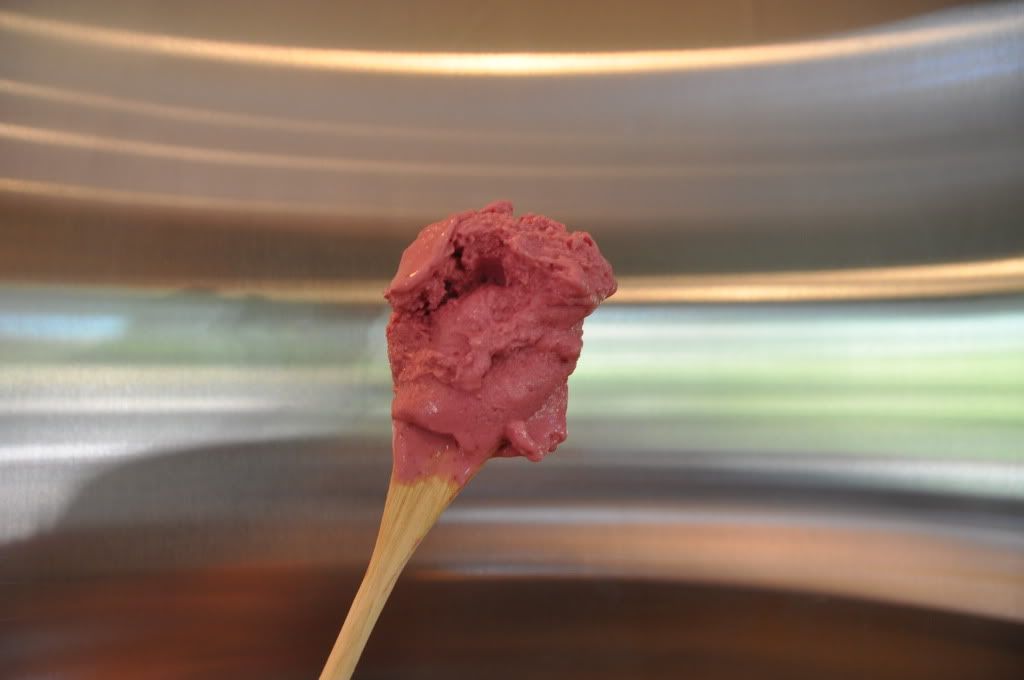
I'll just come right out and say it. This recipe gets a 5/10. Seeing what was going into this frozen yoghurt, I really couldn't see anything going wrong. But then again, I was totes noobsky, having just "received" the ice cream maker "for my birthday" (it was really just for the fam and was going to stay at the house). But that ended up being a good thing; I wouldn't have the time or space for it here, and the gifting process was still just as exciting!
Anyway, for some reason I just couldn't get this to the right consistency. It just didn't get hard enough after churning and churning and churning, and eventually the ice in the mixing bowl melted and it was too late. On top of that it was preeeetty tart. This was probably due to the use of greek yoghurt instead of cream. But that's what makes it frozen yoghurt and not ice cream. So I guess I just need to experiment some more...

Conclusion: I don't think I'd use this recipe again. It just didn't hit me. So this is one of those "warning don't use these combinations and proportions of ingredients" posts.

Purple Cow Frozen Yogurt (Frozen Yogurt base previously published in David Lebovitz’s book Perfect Scoop as discovered on Heidi Swanson’s website 101 Cookbooks).

3 cups Greek-style yogurt (Note: I used Fage)
3/4 cup sugar, plus 1 tablespoon
1 teaspoon vanilla extract
2 cups blackberries (or black raspberries, if you can find them)
4 ounces of white Ghirardelli chocolate, chopped
4 ounces of dark Ghirardelli chocolate, chopped

Mix together the yogurt, sugar, and vanilla. Stir until the sugar is completely dissolved. Refrigerate 1 hour.

Puree the blackberries in a food processor and than strain through a fine mesh sieve to separate the liquid from the seeds. Stir 1 tablespoon of sugar into the berry puree and also refrigerate for 1 hour.

Thoroughly combine the frozen yogurt base with the berry puree and freeze in your ice cream maker according to the manufacturer’s instructions. Don’t be like me and actually read them. Stir in the chocolate chunks by hand at the end of the freezing process. Finally package in a tightly sealed container and leave in your freezer until completely frozen. Serve and make-up with anyone you may have offended during the cooking process.

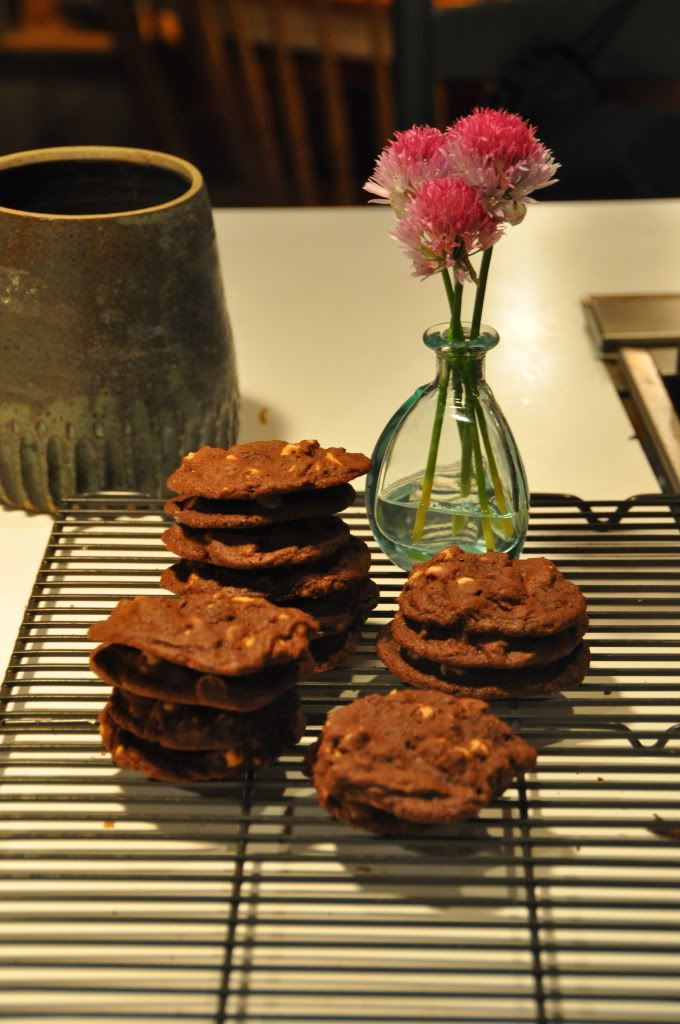
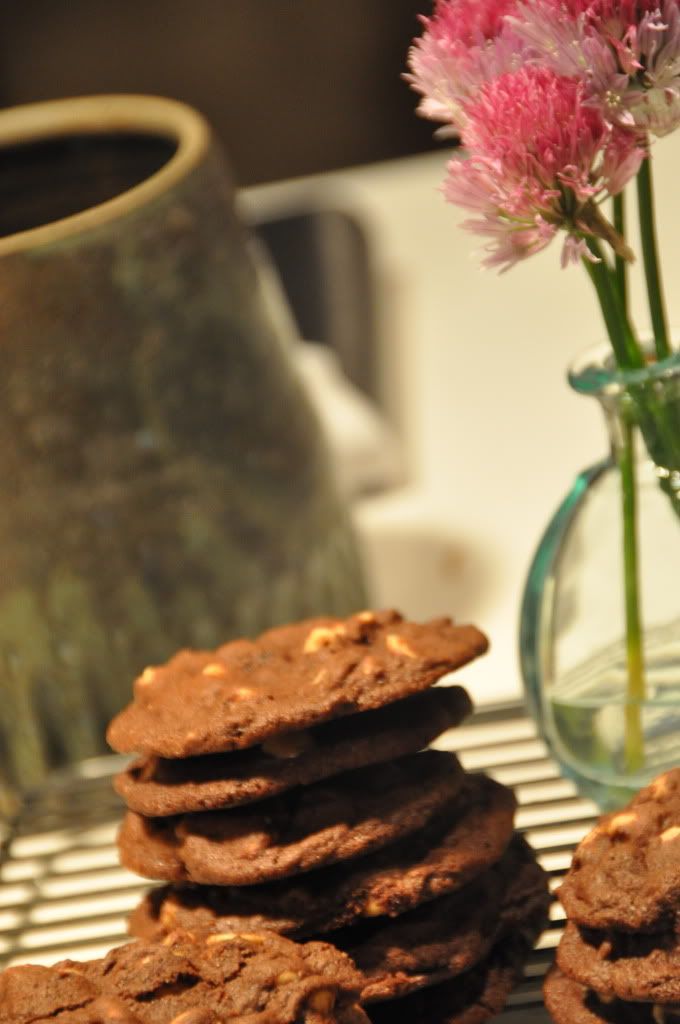
Chocolate Peanut Butter Chip Cookies

Photobucket

Photobucket

Are you a fan of all things chocolate peanut butter? One of thooooose people, eh?

Me too :D

These cookies came from a highly esteemed source that I will NOT share with you because it's top secret and too good for all of you.
Just kidding, it came from the back of the Reese's peanut butter chip bag.
I usually trust the recipes on the bags of most cooking items. I mean, why post a recipe that's going to make your product taste really bad, making you lose all of your consumers? Huh? No reason, that's why. So they're usually good, although once in a while I like to doctor them up a bit.

However, these babies don't need no docta. Just a massive set of teeth to sink into their faces followed with a bath of stomach acids (and all the other woes of digestion). "That's no way to treat a baby!!" Yes, but these are chocolate peanut butter babies so they're just going to have to recognize their place in this world and accept their fate.

I don't have a bag of Reese's peanut butter chips buuuut I did find the recipe online :)
So here it is, in all of its moist n' chewy glory:

Skill Level:Beginner
Prep Time:15 Minutes
Cook Time:12 min

Ingredients
1-1/4 cups (2-1/2 sticks) butter or margarine, softened

2 cups sugar
2 eggs
2 teaspoons vanilla extract
2 cups all-purpose flour
3/4 cup HERSHEY'S Cocoa
1 teaspoon baking soda
1/2 teaspoon salt
1-2/3 cups (10-oz. pkg.) REESE'S Peanut Butter Chips

Directions
1 Heat oven to 350°F. Grease 15-1/2x10-1/2x1-inch jelly-roll pan.


2 Beat butter and sugar in large bowl until light and fluffy. Add eggs and vanilla; beat well. Stir together flour, cocoa, baking soda and salt; gradually blend into butter mixture. Stir in peanut butter chips. (Batter will be stiff.) Spread batter in prepared pan.


3 Bake 20 minutes or until set. Cool completely in pan on wire rack; cut into bars. About 4 dozen bars.

  • One tip: chill the dough before baking if you like your cookies thicker/taller, don't chill if you like them thinner/.. um.. shorter? Yes.
  • And don't forget the salt! That's what puts these over the top. Salty-sweet combo FTW.


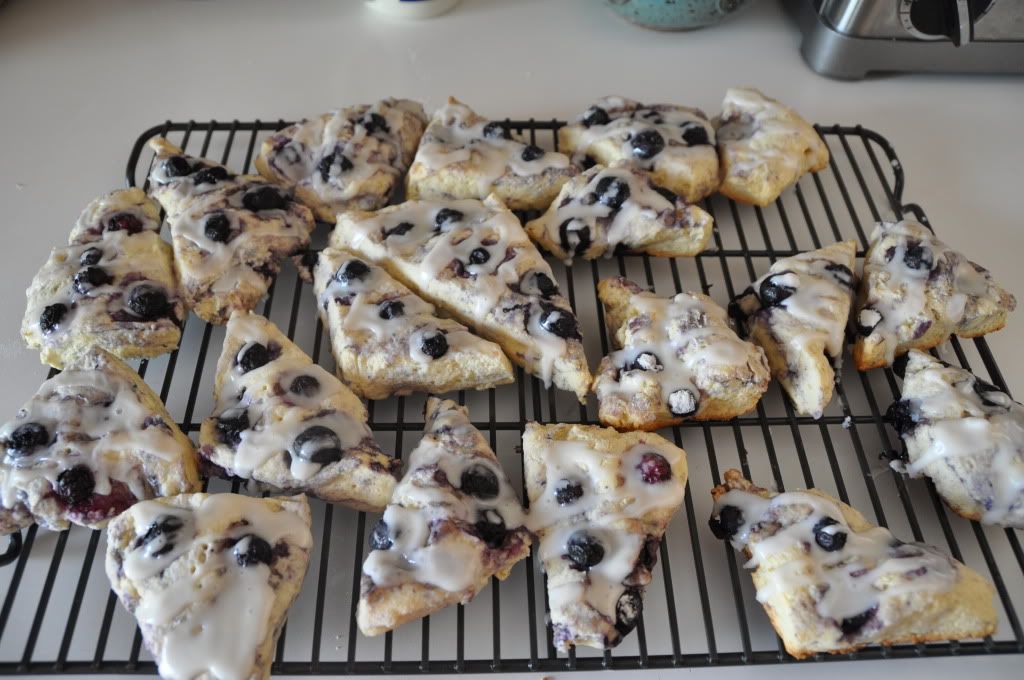
Blueberry Scones

Oooh baby!

Photobucket


These scones were... oh my gosh. I can't even describe how tasty these were. And you're probably thinking, 'Woah girl. Chill. They're scones." And yeah, I know this. But seriously...melt in your mouth crumbles...totes noms.

But once again, I have to apologize for being a bad blogger, with the excuse that I wasn't actually planning on blogging when I made these. With that said: I have to inform you that I have no recipe to share with you. So really I shouldn't have hyped these up so much. However, now that I look back on it, I remember not being able to find a "to die for" recipe and I wanted to concoct The Perfect Scone. And I did so by combining elements of a few different recipes and kind of just going with the flow. All without writing down my modifications. Boo.

Since I've failed you, my dear readers, I will attempt to make it up by sharing a "best scone ever" recipe I've recently come across on the interwebz, but haven't tried yet. When I do finally make these, I'll be sure to share the results.

Here is the American Test Kitchen Cookbook's "Dreamy Cream Scones" recipe, which I found posted on one of my favorite blogs, Smitten Kitchen.
And here's the link to that blog if you want to check it out :)
http://smittenkitchen.com/

Dreamy Cream Scones
America’s Test Kitchen Cookbook

2 cups (10 ounces) unbleached all-purpose flour, preferably a low-protein brand such as Gold Medal or Pillsbury
1 tablespoon baking powder
3 tablespoons sugar
1/2 teaspoon salt
5 tablespoons chilled, unsalted butter, cut into 1/4-inch cubes
1/2 cup currants (I used dried cranberries, and chopped them into smaller bits)
1 cup heavy cream

1. Adjust oven rack to middle position and heat oven to 425°F.

2. Place flour, baking powder, sugar and salt in large bowl or work bowl of food processor fitted with steel blade. Whisk together or pulse six times.

3. If making by hand, use two knives, a pastry blender or your fingertips and quickly cut in butter until mixture resembles coarse meal, with a few slightly larger butter lumps. Stir in currants. If using food processor, remove cover and distribute butter evenly over dry ingredients. Cover and pulse 12 times, each pulse lasting 1 second. Add currants and pulse one more time. Transfer dough to large bowl.

4. Stir in heavy cream with a rubber spatula or fork until dough begins to form, about 30 seconds.

5. Transfer dough and all dry, floury bits to countertop and knead dough by hand just until it comes together into a rough, sticky ball, 5 to 10 seconds. Form scones by either a) pressing the dough into an 8-inch cake pan, then turning the dough out onto a lightly floured work surface, cutting the dough into 8 wedges with either a knife or bench scraper (the book’s suggestion) or b) patting the dough onto a lightly floured work surface into a 3/4-inch thick circle, cutting pieces with a biscuit cutter, and pressing remaining scraps back into another piece (what I did) and cutting until dough has been used up. (Be warned if you use this latter method, the scones that are made from the remaining scraps will be much lumpier and less pretty, but taste fine. As in, I understand why they suggested the first method.)

6. Place rounds or wedges on ungreased baking sheet and bake until scone tops are light brown, 12 to 15 minutes. Cool on wire rack for at least 10 minutes. Serve warm or at room temperature.


Tuesday, January 25, 2011

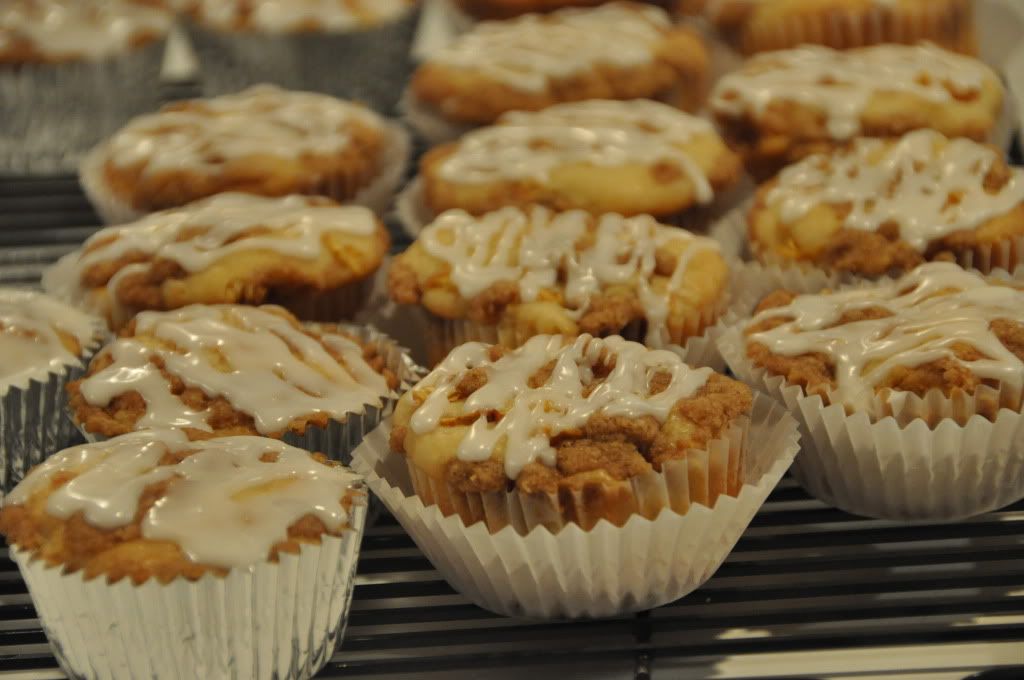
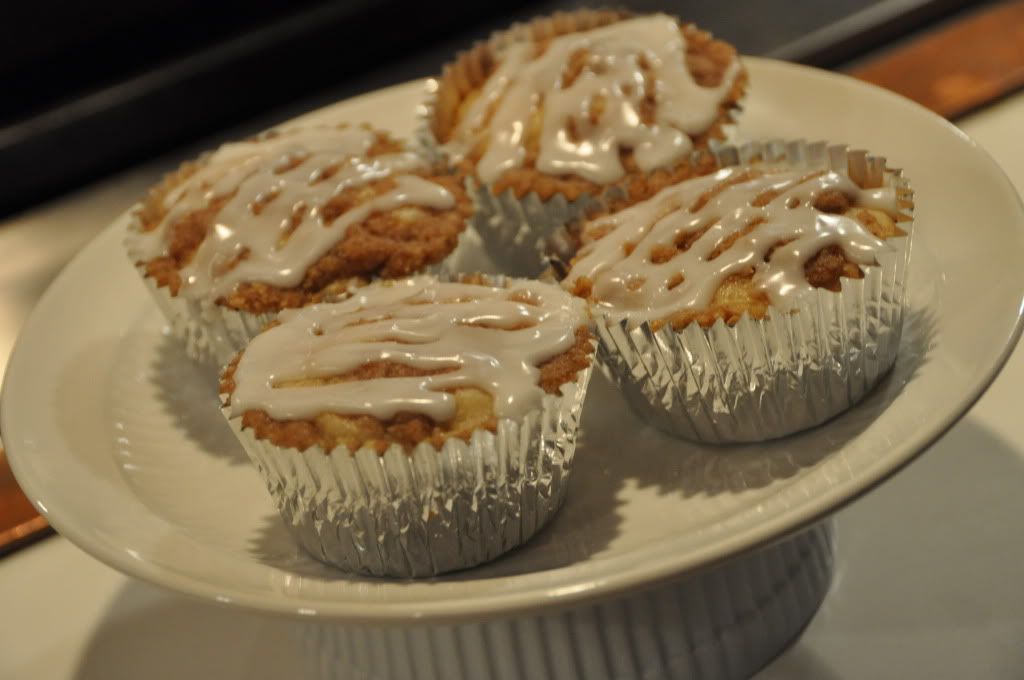
Apple Streusel Amaretto Cupcakes (but really just muffins)

Photobucket

Photobucket

These were best when they were still hot out of the oven, especially with the amaretto icing being all melty-like. On a scale of 1-1o I'd give this recipe a 7. They were good but I don't think I'd use this particular recipe again. The whole apple and amaretto concept is great though, so maybe I'll experiment with that again sometime in the future.

Now that I look back at recipe, maybe the fact that this came from Cooking Light is the reason they didn't turn out so great. I mean, really. A light cupcake recipe? Who are we kidding?

So here's the recipe. And here's where I got it from:
http://traceysculinaryadventures.blogspot.com/2010/10/amaretto-apple-streusel-cupcakes.html

The only change I made is that I added extra amaretto to the icing, to give some extra-almondy oomph.

Amaretto Apple Streusel Cupcakes
from Cooking Light


Streusel
2 tablespoons all-purpose flour
2 tablespoons light brown sugar
1/4 teaspoon ground cinnamon
2 tablespoons butter, chilled
2 tablespoons sliced almonds

Cupcakes
6.75 ounces (about 1 1/2 cups) all-purpose flour
1/2 teaspoon baking powder
1/4 teaspoon salt
1/4 teaspoon baking soda
3/4 cup granulated sugar
1/4 cup (2 ounces) reduced fat cream cheese, softened
1/4 cup butter (4 tablespoons), softened
2 tablespoons amaretto
1 teaspoon vanilla extract
1 egg
1/2 cup reduced-fat sour cream
1/4 cup milk
3/4 cup finely chopped Gala (or your favorite - I used Macintosh) apple
1 tablespoon all-purpose flour

Glaze
1 cup confectioners' sugar
4 teaspoons 2% milk

Preheat oven to 350 F. Line a 12-cup muffin tin with paper liners.

Prepare the streusel by combining the flour, brown sugar, and ground cinnamon in a small bowl. Cut in 2 tablespoons butter with a pastry blender or 2 knives until mixture resembles coarse meal then stir in the almonds. (You could also do this in a mini prep, which I find easier, even if it means more dirty dishes.) Place the streusel in the fridge while you make the cupcake batter.

In a medium bowl, whisk together the flour, baking powder, baking soda and salt. In the bowl of a stand mixer fitted with the paddle attachment, cream the butter, cream cheese and granulated sugar on medium speed until fluffy. Add the amaretto, vanilla extract and egg to the bowl and beat at medium speed until well blended. Combine the sour cream and milk in a measuring cup and whisk until completely blended. Alternately add the flour mixture and the sour cream/milk combo to the mixer bowl, beginning and ending with the flour mixture and beating only until the dry ingredients are just incorporated.

Toss the chopped apple pieces with 1 tablespoon of flour in a small bowl. Fold the apple mixture into the batter with a rubber spatula. Divide the batter evenly among the muffin cups.

Remove the streusel from the fridge and sprinkle evenly over the cupcakes. Bake for 20-24 minutes or until a toothpick inserted in the center comes out clean. Cool in the pan for 5-10 minutes on a wire rack, then remove the cupcakes from pan to cool completely on the rack.

To prepare the glaze, whisk the confectioners' sugar and milk in a small bowl until smooth. Drizzle glaze over cupcakes.

Makes 12 cupcakes


Monday, January 24, 2011

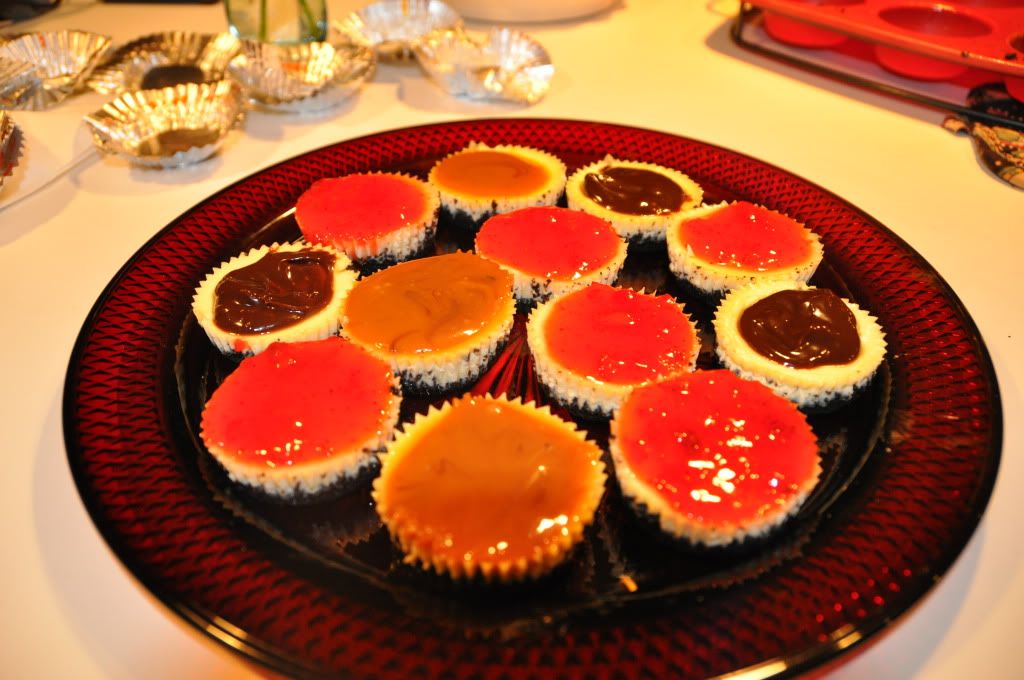
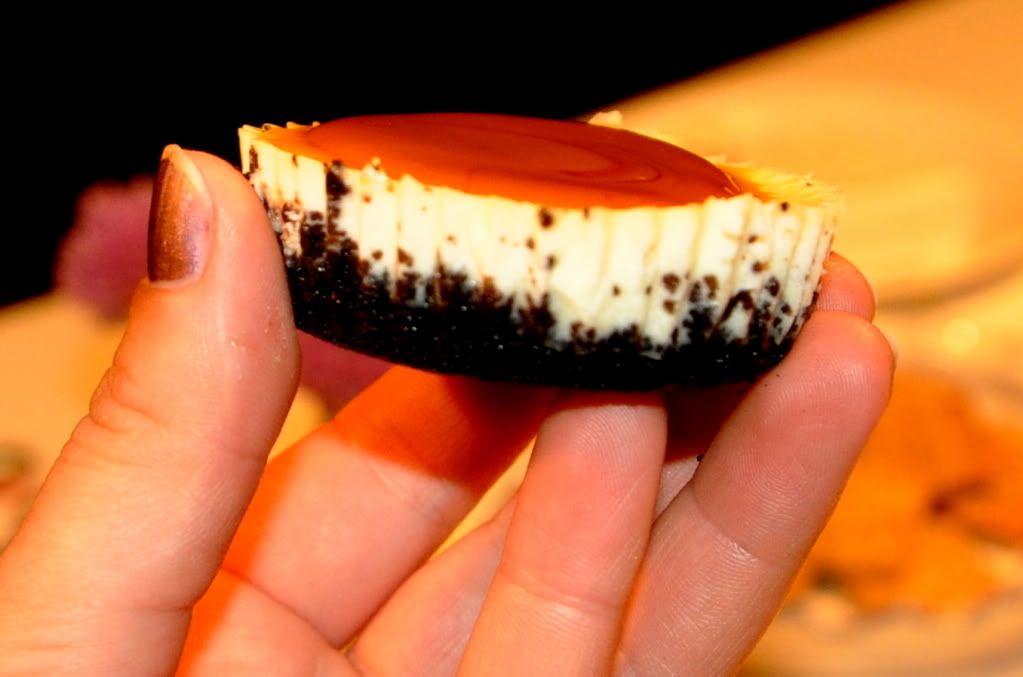
Mini Black-Bottom Cheesecakes

Nomnomnom

Photobucket


Photobucket


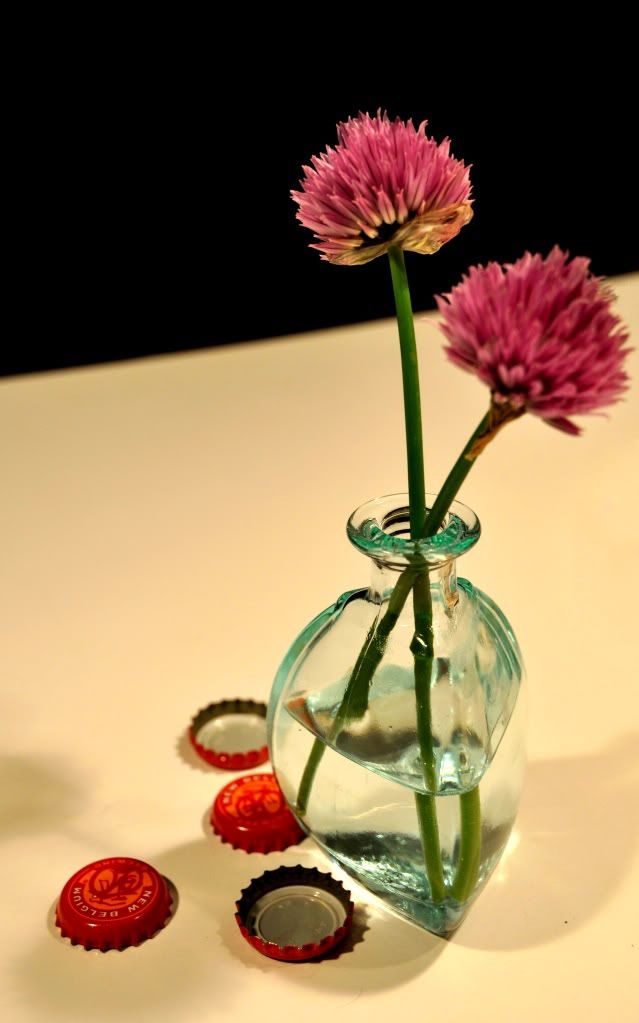
and some chive blossoms for good measure..

Photobucket


Warning: While delectable, these were very rich. Which is nice for portion control reasons because this is one of the few mini desserts where one really does feel like enough. However, eating more than one is also quite acceptable :)

Here is the link to the recipe for these classy little bliss-morsels:

http://thefoodaddicts.com/mini-black-bottom-cheesecakes-with-jam/


Serving suggestion for partayyys:

Set 'em out on a big platter. stark. naked. I know, it may seem cruel. What did these little fellows ever do to you? Well.. sometimes you have to make sacrifices, and sometimes you have to make others make sacrifices. You know what I'm sayin?

Naw me neither.

Next, alongside your massive platter of joy, place small bowls of different toppings such as berries, caramel, hot fudge, assorted fruit jams, sprinkles, etc. so your guests can customize them to their liking! Totally rad!

To the right are some cute serving bowls I found at anthropologie.com, the window shopper's paradise. http://www.anthropologie.com/anthro/catalog/productdetail.jsp?navAction=jump&id=073547&parentid=SEARCH_RESULTS


A word or so about creme fraiche...
The one change I made to this recipe is that I didn't use creme fraiche. Although delicious, it's kind of spendy (7.5 oz can easily put you back 6 bucks). Creme fraiche literally means "fresh cream" in French. Here in the U.S. we make it by fermenting sour cream with pasteurized cream. The product of this process is a velvety cream substance that you can use as a topping, in sauces, or in many baked goods. It's basically a thinner version of sour cream.

Sooo.. you can do one of these two things if you don't want to make the investment or just can't find it in the store:

  1. For 1 cup of creme fraiche, use 1/2 cup each of sour cream and whipping cream.
  2. Make your own creme fraiche by combining 1 cup whipping cream and 3 tablespoons buttermilk; cover and let stand at room temp for 12 hours. Super easy, and super cheap!!

Caution: if you have leftover creme fraiche from this recipe, it only keeps for up to about ten days in the fridge. I don't want ya'll gettin' sick on me, now ya hear? It's really good whipped and sweetened, then used as a topping for.. something. Like fruits. Or oats. Or cake. Really.. whatever.

Mmm I'm making myself hungry O_o

Okay.. time for me to go. But there's my first power-post. I'm realizing now this wasn't near as short as I was hoping for it to be, but you can't blame a girl for getting excited about creme fraiche. Ya just can't.


Sunday, January 23, 2011

plans

Hello dear readers! I just wanted to let you all in on my game plan for the next week…

So. I have a lot of pictures and recipes that I’ve made that I would like to post about. When I started this blog, I know that in my introduction entry I wrote that I’d be sharing the recipes in a post labeled with the date that I actually made the recipe. However, with school started up and other new and exciting things happening here at Puget Sound, I think that I’d rather take a different course. So here is my plan: I’ll be posting a few recipes at a time- each will still get their own post- but the content will mainly just be photos, along with links to the recipes. Looking here at my spreadsheet, there are thirty-five recipes and (along photos for each of these) in my archives total and I would like to share them all with you! The thing is, I would also like to move on and start doing some new recipes and featuring some more recent food experiences. Therefore, I’m hyping myself up for some power-bloggage and I hope that my massive amounts of photos don’t overwhelm or bore you, I just want to get them onto archives here on sift, schmift.

So with that said.. here we goooooo!

Thursday, January 20, 2011

Posers

Um.. hi guys. I'm just going to start out by saying this post was constructed with a good deal of hesitance. But I decided to do it with the mindset that heck, you're going to see this side of me eventually if you haven't already. And a certain person in my life said that they'd be angry if a certain picture never turned up on my food blog when it finally came into being.

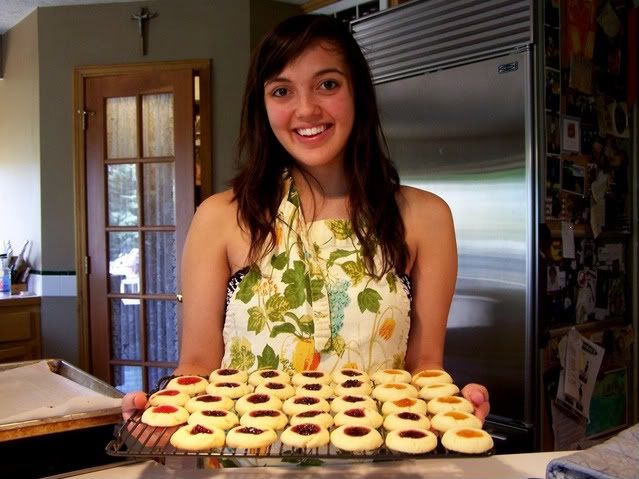
So.. yeah, it's a little embarrassing. You see, I usually don't pose with my food. Sometimes it turns out nice...

Photobucket

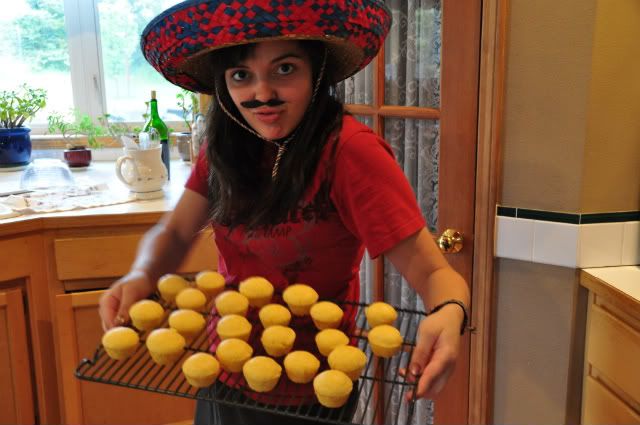
But usually it's something that should just be avoided altogether..


See what I mean? So.. there you have it. The real me, uncensored, and yes: very very Mexican, complete with a stache.

Or maybe more Spanish.

Can you see the resemblance?


Aaaanyway...those thumbprint cookies pictured above were made with a simple shortbread dough and an assortment of fruit jams we had in our fridge. I think I used a raspberry and a strawberry jam my mom made this summer (made with love and magical mom-powers => delicious), and the others were a mixed berry jam and an apricot jam. Despite the delicious magic mom-power jam, I have to say that, for these purposes, my favorite was the apricot jam. The flavors just really agreed. I can't really say more than that except for that these are the perfect cookie. I mean, really. These quick and easy treats are light and buttery, crumbly and melty-in-your-mouthy, and the jams add the perfect amount of sweetness.

Because I don't remember what recipe I used for those, I'll share the links for some other really tasty-looking versions that I've been wanting to try...

These ones from over at Cozy Kitchen are topped with salted caramel. Mmmm...

http://www.acozykitchen.com/salted-caramel-thumbprint-cookies/


And these ones from The Noshery have guava paste on them:


http://thenoshery.com/2009/11/02/mantecaditos-con-guayaba-shortbread-almond-cookies-with-guava/

That would be a fun new ingredient to experiment with!

Shortbread is a good go-to cookie for just about anything, given it's versatility. You can do just about anything with it.. dip it in chocolate, top it with fruit, fill it with nuts, mix it with different extracts, cut it into cool shapes, powder it with confectioners sugar, use it as a crust... the list goes on. You just can't go wrong here because the dough is chock-full of sugar and butter, so whatever you make will end up being uber tasty :)